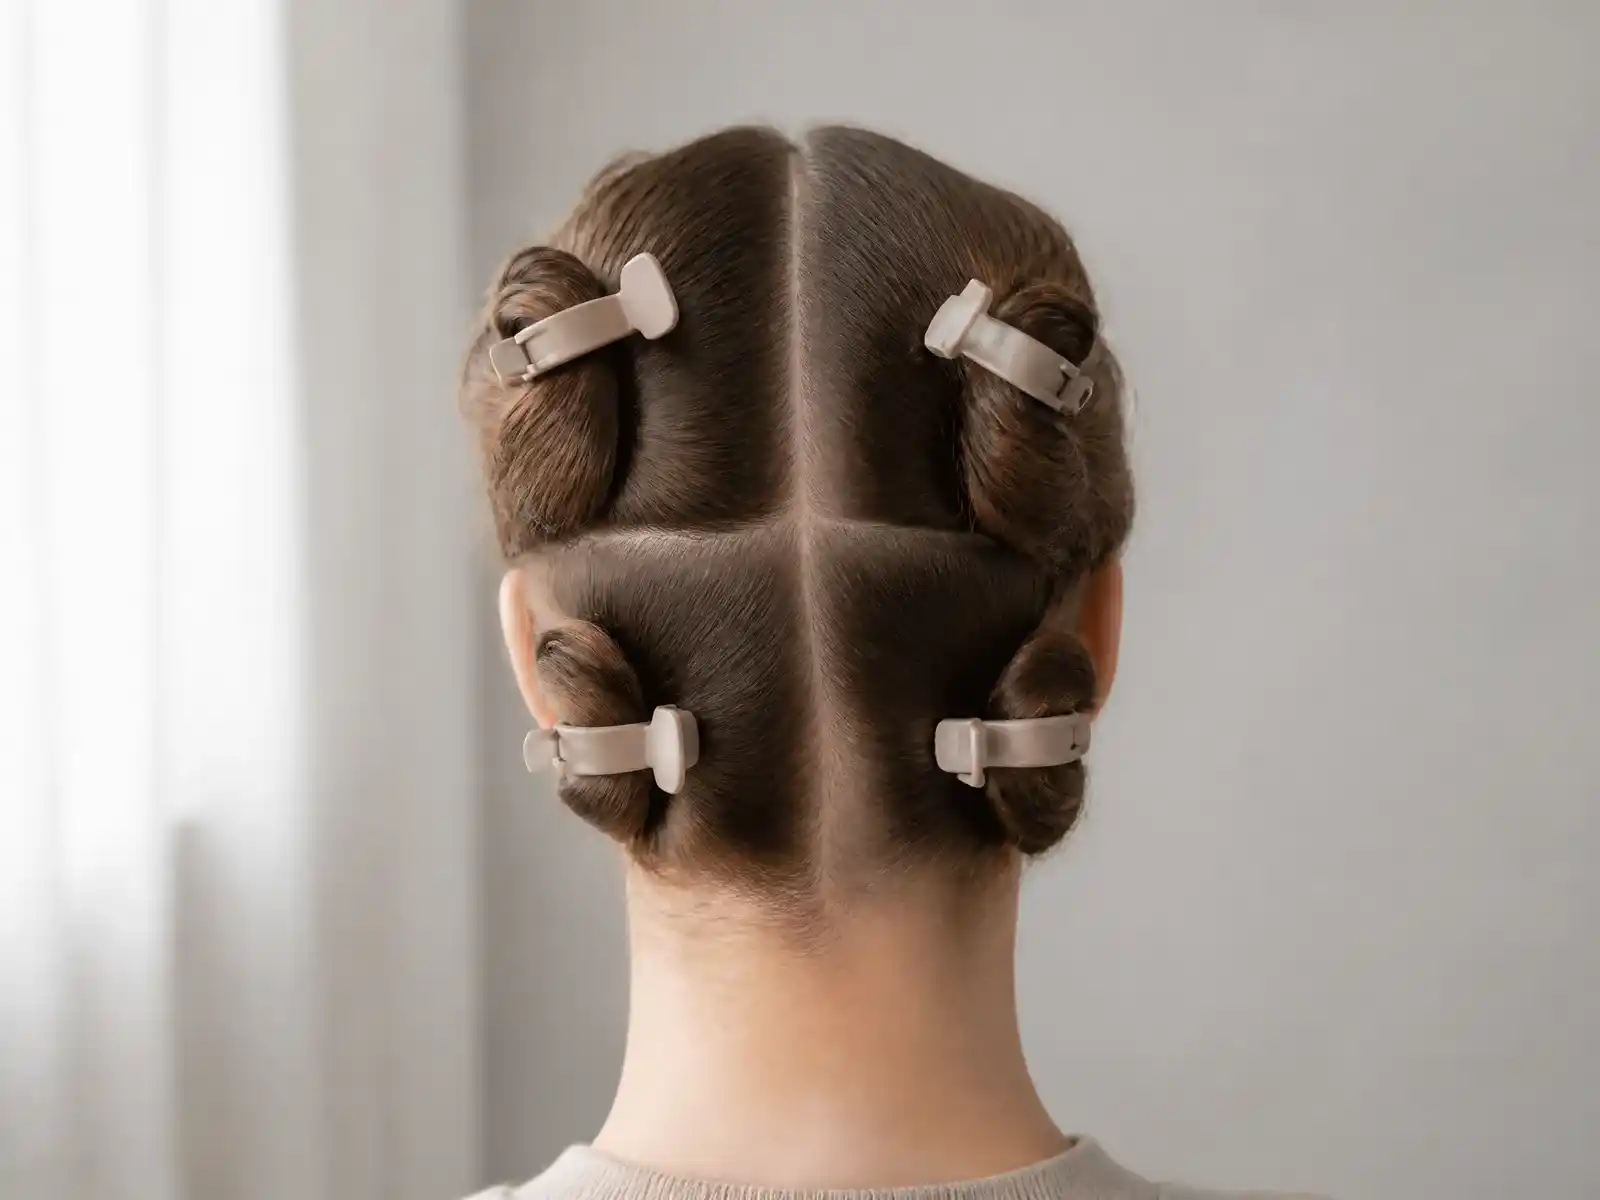
- How to Section Hair: The Four-Section Parting Map
- How Sectioning Clips Work: Where the Grip Actually Comes From
- How Many Clips You Actually Need
- How to Use Sectioning Clips: The Order to Unclip In
- Sectioning for Blow-Drying
- Sectioning Clips for Rollers and Curling Irons
- Mistakes That Make Sections Slip
- Putting It Together
Learning how to use sectioning clips is mostly learning two parts and one rule: split the head into four quadrants with a center part and an ear-to-ear part, then work from the bottom up.
That is the short answer. Four clips will carry you through a blowout, six to eight once you add a crown section and a fringe, and the clips themselves are the least important variable. The parting map is doing the work.
If you want the broader picture of the hardware before the technique, our guide to hair sectioning clips covers types, sizes and materials. This article is purely the order of operations: where the parts go, which clip goes where, and what to take down first.
How to Section Hair: The Four-Section Parting Map
Two partings produce four sections, and it is the same map taught for cutting and coloring.
A cosmetology study guide written for the Illinois licensing exam describes it as two deliberate cuts with the tail of a comb. Draw a clean central vertical parting from the center of the front hairline, carry it over the top of the head and down to the back of the neck. Then draw a horizontal parting from the crown down to the top of each ear on both sides. The guide's summary is blunt: the cosmetologist divides the head into four equal quadrants, and each one gets secured with a clip.
Name them out loud the first few times, because the names are how you keep track of what is finished:
- Front left and front right — front hairline back to the crown, either side of the center part.
- Back left and back right — crown down to the nape, either side of the same part.
Two details decide whether the map holds. The first is that the horizontal part must run over the crown, not behind it. Drop it an inch too low and the back quadrants inherit the heaviest hair on the head while the front two hold almost nothing, which is how you end up with a clip that keeps popping open on one side.
The second is that each quadrant gets combed smooth and clipped flat against the head, not twisted into a bun. A sectioning clip with interlocking teeth is built to hold a flat sheet of hair across the length of its jaw. Give it a rope and it grips a lump at one point, which is a much smaller contact patch holding the same weight.
That same study guide also specifies non-metallic clips for color work, which is a useful tell about what the clips are being asked to do. Plastic is there because metal can react with lightener and color, not because it grips better.
How Sectioning Clips Work: Where the Grip Actually Comes From
A sectioning clip holds hair with three things, and they trade against each other.
- Spring tension — how hard the jaws want to shut. More tension means more hold and more pressure concentrated on the hair at the point of contact.
- Tooth engagement — interlocking teeth push hair into a wave pattern so it cannot slide out in a sheet. A smooth, un-toothed blade grips far less but leaves far less of a line.
- Jaw length and surface area — a long jaw spreads the same spring force over more hair, so each strand carries less of it.
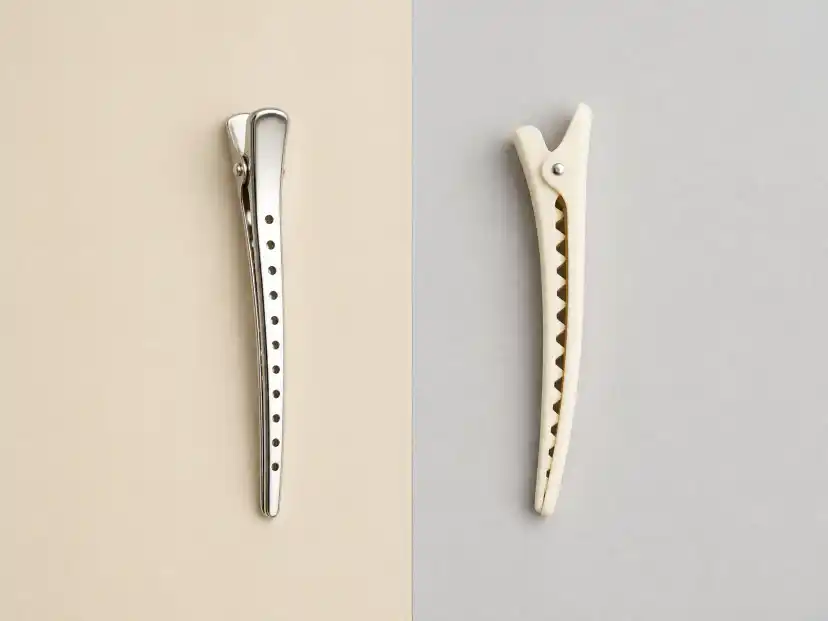
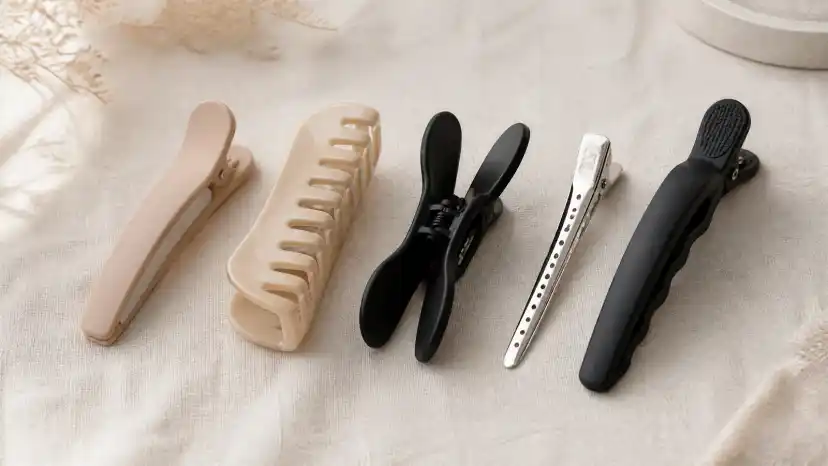
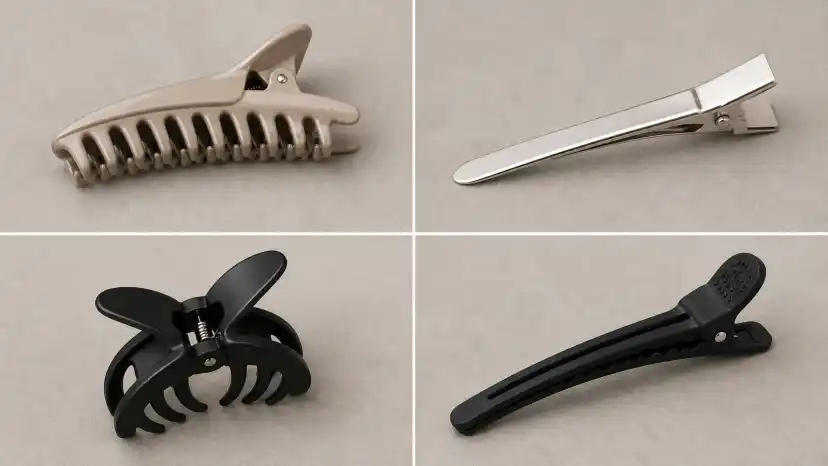
Those three variables are why clips that look nearly identical behave so differently, and why duckbill, alligator and butterfly shapes are not interchangeable. A duckbill's flat lower blade slides under a part without lifting it and holds almost nothing. A long double-hinged clip keeps its jaws closer to parallel, so the grip runs along the whole jaw instead of pinching at the tip.
The practical version: match the jaw length to the weight of the section, and the tooth style to how visible the clip mark will be.
How Many Clips You Actually Need
Four, for the basic map. Six to eight for real styling.
The four quadrants need one clip each. Add a crown section — the panel you want to dry last for volume — and a fringe or face-frame that needs to stay out of the way, and you are at six. Two spares for the clip that will inevitably end up on the bathroom floor brings you to eight.
Past that, the count is a function of how finely you subdivide. Salon-supplier Pure Spa Direct's sectioning primer treats the four quadrants as a starting point and recommends sub-sectioning into thin meshes no wider than the brush you are using, and the Illinois guide works color in quarter-inch partings. Nobody clips a quarter-inch mesh; you take those one at a time out of a clipped quadrant. So the clip count tracks your quadrants plus holding sections, not your subsection count.
Weight matters more than number. If your quadrants are dense enough that a standard three-inch plastic clip bows open, the fix is a longer jaw rather than a second clip stacked on the first, and our roundup of the best sectioning clips for thick hair is the shorter route there. The other half of that decision is whether metal or plastic clips suit your hair better, and it changes once a hot dryer is involved.
How to Use Sectioning Clips: The Order to Unclip In
Bottom to top, always. This is the single highest-value habit in the whole routine.
Sam Villa Pro's sectioning guide lays out the sequence plainly: gather the hair on top of the crown and secure it with a clip, separate the left and right sides at the back with another clip, dry the bottom layers first, then remove the clip from the top section and use it to hold the lower layers back and away as you work upward.
Read that last step again, because it is the part most people skip. The clip does not come out when a section is finished. It gets re-used to hold the finished hair up and out of the airflow. By the time you reach the crown, everything you already dried is clipped above the work zone rather than hanging in it.
Working top-down inverts all of that. Each new section you release falls over hair you just finished, so it gets re-dampened by wet hair lying on it and re-heated by the dryer passing over it. You pay twice for the same section.
The order, in five lines:
- Rough-dry to roughly damp, then part the four quadrants and clip them.
- Take the back two quadrants down one horizontal slice at a time, starting at the nape.
- Re-clip each finished slice upward as you go.
- Repeat on the front sides, working from the jaw up to the temple.
- Crown and fringe last, when the clip is finally empty.
That guide also makes a point worth keeping: sectioning clips may prevent damage caused by overdrying, simply because a clipped section is not sitting in the heat stream while you work on something else. The clip is as much a shield as a holder.
Sectioning for Blow-Drying
Blow-dry sections are sized to the brush, not to the head.
Sam Villa Pro's guide gives two numbers. Width: "Never take a section that's wider than your brush." Depth: section depth should be about one to one and a half inches depending on the density of your hair. Pure Spa Direct uses the same width rule for color meshes, which suggests it is less a styling preference than a limit on how much hair a tool can actually reach through.
The mechanics are straightforward. A round brush only tensions the hair wrapped around its barrel. Hair hanging off the ends of the brush gets airflow but no tension, so it dries without being smoothed, and you get a section that looks finished at the center and frizzy at the edges. Too deep is the same problem on the other axis: the outer face of the section dries and the inner face stays damp, which is how a blowout collapses an hour later.
This is also where clip choice starts to matter rather than just clip count. Metal conducts heat, so a metal clip left in while you dry around it warms up against damp hair. A warm edge pressing on a damp section is the worst-case setup for a mark, which is why a slim all-plastic clip or one of the clips that will not leave a dent belongs in the sections you have not reached yet.
Sectioning Clips for Rollers and Curling Irons
Thermal and wet setting invert the logic. Here the section size determines the result, so it is the section that dictates the clip rather than the reverse.
For rollers, a Red Seal hairdressing study guide ties the base directly to the tool: the hair wound on each roller should be no wider than the roller's diameter and roughly equal in depth, and overloading a roller with too wide a section produces uneven, loose curl and slow drying. Same guide, on finishing: hair must be fully dry under the hood before the rollers come out, and a roller that feels cool at the scalp still has damp hair inside it. That is why wet setting needs holding clips at all. The shape is being locked in as the hair dries, so anything still waiting its turn has to stay parted and out of the way for the whole set.
For a curling iron, the section is a dial. In a SalonCentric Pro Beauty Central demonstration with stylist Sam Villa using a one-inch wand, a vertical section one inch wide by two inches long yielded a looser curl with more space between the coils, while a half-inch section of the same length yielded a tighter, bouncier curl. The summary that page lands on: "The smaller the section, the tighter the curl, and the larger the section, the looser the curl."
Practically, that means curling work needs more holding clips than blow-drying, because your working sections are half the size. The clip you want here is low-profile rather than strong. It is holding a parted quadrant of mostly dry hair, not restraining a wet rope, and a bulky clip sitting proud of the head gets in the way of the barrel.
Mistakes That Make Sections Slip
Four failure modes account for nearly all of it, and three of them are geometry rather than clip quality.
The section is too big for the jaw. A clip that holds fine on a quarter of fine hair will bow open on a quarter of dense hair, because the spring was sized for a certain volume and the jaws stop interlocking once the hair pushes them past parallel. The tell tends to be a clip that holds briefly and then creeps. Subdivide the quadrant or use a longer clip.
It was twisted before clipping. This is the most common one, and it is backwards rather than careless. Twisting is correct for a claw or butterfly clip, whose inward-facing claws cage a rope. It is wrong for a toothed sectioning clip, which needs a flat sheet across the jaw. Twist first and you have handed a line-contact tool a point load.
It was clipped soaking wet, flat to the scalp. Two problems at once. Wet hair is slick, so the teeth grip less, and the clip is pressing a defined edge into hair at its most pliable. Rough-dry before the clips go in and move each clip once mid-dry if it has to stay in.
It was clipped tight to the hairline. Hold tension is not the same as scalp tension, and the hairline is where the difference shows. The American Academy of Dermatology notes that the hairline is one of the first places you can see traction alopecia, and offers a rule that transfers neatly to clips: "If your hairstyle feels painful, the style is too tight." A sectioning clip is on for minutes rather than hours, but it should sit on the hair, not anchored into the scalp. If it stings, re-clip it lower. Our guide to pain-free hair styling goes deeper on tension if that is a recurring problem for you.
Putting It Together
The whole method for how to use hair sectioning clips fits in four lines: rough-dry, center part front to nape, ear-to-ear part over the crown, work bottom to top and re-clip finished hair upward as you go. Section width follows the tool — brush width for a blowout, roller diameter for a set, curl size for an iron.
Get that sequence right and the clip becomes a detail. Get it wrong and no clip saves you, which is the honest tradeoff: this is a technique problem first and a hardware problem second. When the hardware genuinely is the limit — sections popping open, lines on a fresh blow-dry, clips that will not sit flat — our guide to picking the right sectioning clips is the next stop.
Frequently Asked Questions
In what order should you take sections down when blow-drying?
Should you section hair wet or damp?
What size sections should you use with a curling iron?

Donna Miller
Enjoyed This Guide?
Get more hair tips and product recommendations delivered weekly.