- Hair Sectioning for Dye Is a Saturation Problem, Not a Tidiness Problem
- Quadrant Sectioning for Hair Color: The Map
- How to Section Hair for Coloring: Take Slices You Can See Through
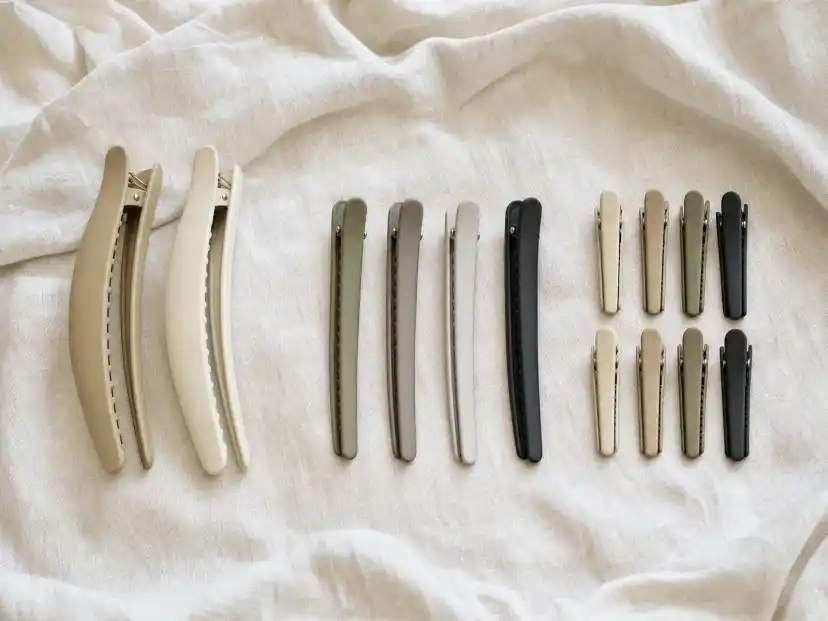
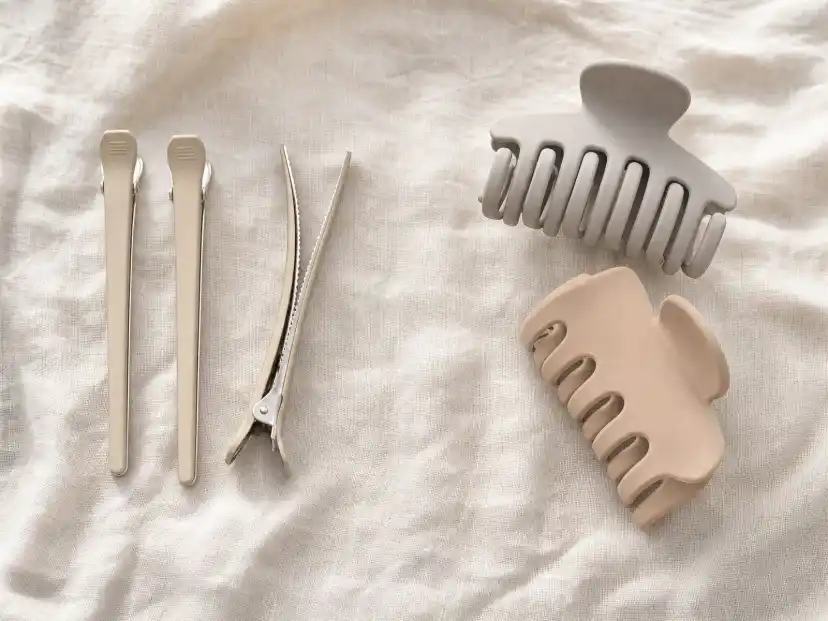
- Sectioning Clips for Coloring: What the Clip Has to Survive
- Sectioning Clips for Root Touch Up: Work a Narrow Band
- The Order to Work In
- Where At-Home Sectioning Goes Wrong
- Before the First Part: Gloves, Barrier, Patch Test
- Putting It Together
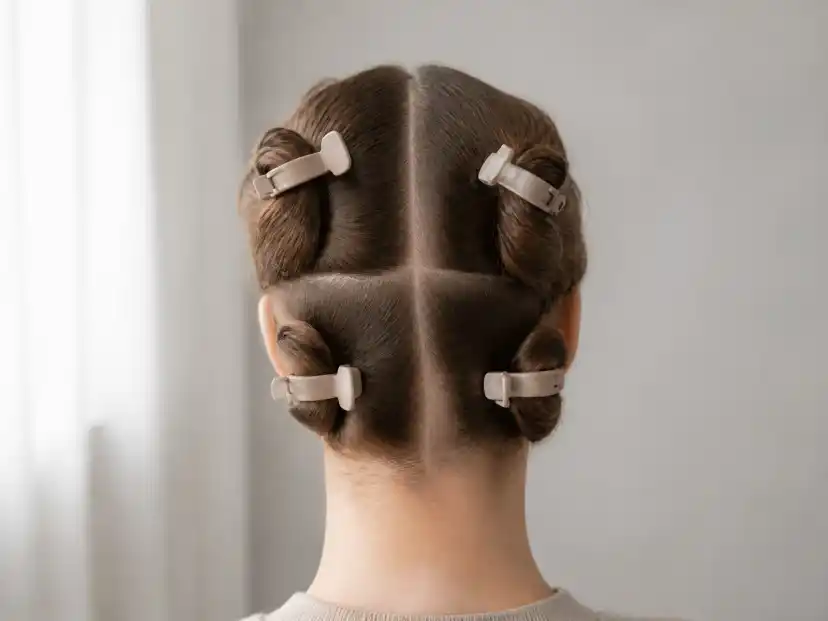
The short answer to how to section hair for coloring is four quadrants plus thin subsections: a center part from forehead to nape, an ear-to-ear part across the crown, and inside each quarter, slices thin enough to see scalp through.
Four quadrants. Thin slices. Regrowth only.
Color is the job where sectioning stops being housekeeping. A blow-dry section that comes out a little too thick dries unevenly, and you fix it on the next pass. A color section that is a little too thick leaves an unsaturated stripe you live with for six weeks. Our guide to hair sectioning clips covers the hardware — types, sizes, materials. This article is the geometry and the order of operations, plus the places at-home color goes wrong because of a parting rather than a product.
Hair Sectioning for Dye Is a Saturation Problem, Not a Tidiness Problem
Two things make sectioning load-bearing in a color application, and neither one is neatness.
The first is reach. Zotos Professional's guide to sectioning hair for dyeing puts it plainly: sectioning makes it easier to saturate one area of hair while keeping the rest out of the way. eSalon's colorist tips set the standard you are working to, which is that no strand should be left unsaturated. A brush only coats hair it can physically touch, and a thick slab of clipped-together hair has an inside face the bristles never reach. That face is where stripes come from.
The second is the clock. According to Madison Reed's explainer on hot roots, the heat from your scalp can cause your roots to respond faster to hair color than the midlengths and ends. Every section develops from the moment product lands on it, so the first slice you paint has been processing for however long it takes you to find the last one. Hunting for a parting mid-application is a timing failure, not a tidiness one, and it shows up as tonal drift from the first quadrant to the fourth.
Both forces point the same way: smaller sections, applied faster, in an order you set before mixing.
Quadrant Sectioning for Hair Color: The Map
Two partings, four panels, and it is the same map a stylist uses for a blowout.
L'Oreal Paris's guide to touching up roots describes it in two moves. Part your hair down the middle from your forehead to the nape of your neck, creating two halves, then create a horizontal part across the back of your head, roughly from ear to ear. Clip each section securely so it stays out of the way while you work. Schwarzkopf's root touch-up walkthrough builds the same four panels in reverse — ear-to-ear part first, then a middle part through the lower section and another through the top.
Either route lands in the same place. If you already use the four-quadrant map for blow-drying, the parts themselves are nothing new; what changes is what happens inside each quarter.
Two details are specific to color work:
- Run the horizontal part over the crown, not behind it. Drop it an inch too low and the two back panels inherit most of the hair on the head. An overloaded panel is slower to subdivide and likelier to pop open with wet product on your gloves.
- Clip each panel flat against the head, not twisted into a bun. A twist is one object: to take a slice out of it you release the whole rope, which puts unpainted hair back into the work zone. A flat, toothed hold lets you peel slices off the underside and leave the rest parked.
L'Oreal's guide offers the escape valve: for thicker or longer hair, you can further subdivide each section into smaller panels. Four is the floor, not the ceiling.
How to Section Hair for Coloring: Take Slices You Can See Through
Inside the quadrant, thin beats tidy every time.
eSalon's at-home coloring guide gives the number its colorists work to: section the hair into four quadrants and work in half-inch subsections within each. L'Oreal's root routine describes the same habit procedurally — unclip one section, divide it into smaller subsections, then apply. The slice, not the quadrant, is the unit of work.
The reason is geometry, not preference. A half-inch slice has two faces and a thin core, so a loaded brush drawn along the top and then the underside reaches essentially all of it. Double the thickness and the middle of the slab is shielded by the hair on either side. You cannot see that happening while you work. The miss shows up when the hair is dry and the light hits it.
A test beats a measurement here. Lift a slice with the tail of your comb and look at the parting underneath. If you can see a clean line of scalp along the whole slice, product can reach both faces. If the parting disappears into bulk, the slice is too thick, and the fix is to put half of it back under the clip.
One honest tradeoff: thin slices take time, and the mix develops while you take them. On dense or long hair it is usually faster to subdivide each quadrant into two or three clipped panels and work slice by slice out of each, rather than fight one enormous quarter with one clip.
Sectioning Clips for Coloring: What the Clip Has to Survive
A clip used for color has a harder job than a clip used for styling.
It holds slippery hair, with gloves and a brush working around it, and it stays shut for the full processing time on the box rather than the few minutes a blow-dry section spends clipped.
Zotos Professional's sectioning guide gives two criteria, and they are the right two: choose a clip size that works for your hair type and thickness, and make sure the clips have teeth to keep the hair in place. Teeth matter more here than in dry styling because product-coated hair is genuinely slick. Interlocking teeth push the hair into a wave so it is less likely to slide out as a sheet, which a smooth-bladed duckbill will not do once the hair is wet.
Jaw length does the rest. The same spring force spread along a longer jaw presses less hard on any one part of the section, which matters when the clip sits in one spot for the length of a processing time. Count matters too: four clips cover the quadrants, but a retouch on long hair wants six to eight so sub-panels can stay parked without stacking two clips on one slice. Our breakdown of how many clips a sectioning kit actually needs has the counts by length and density.
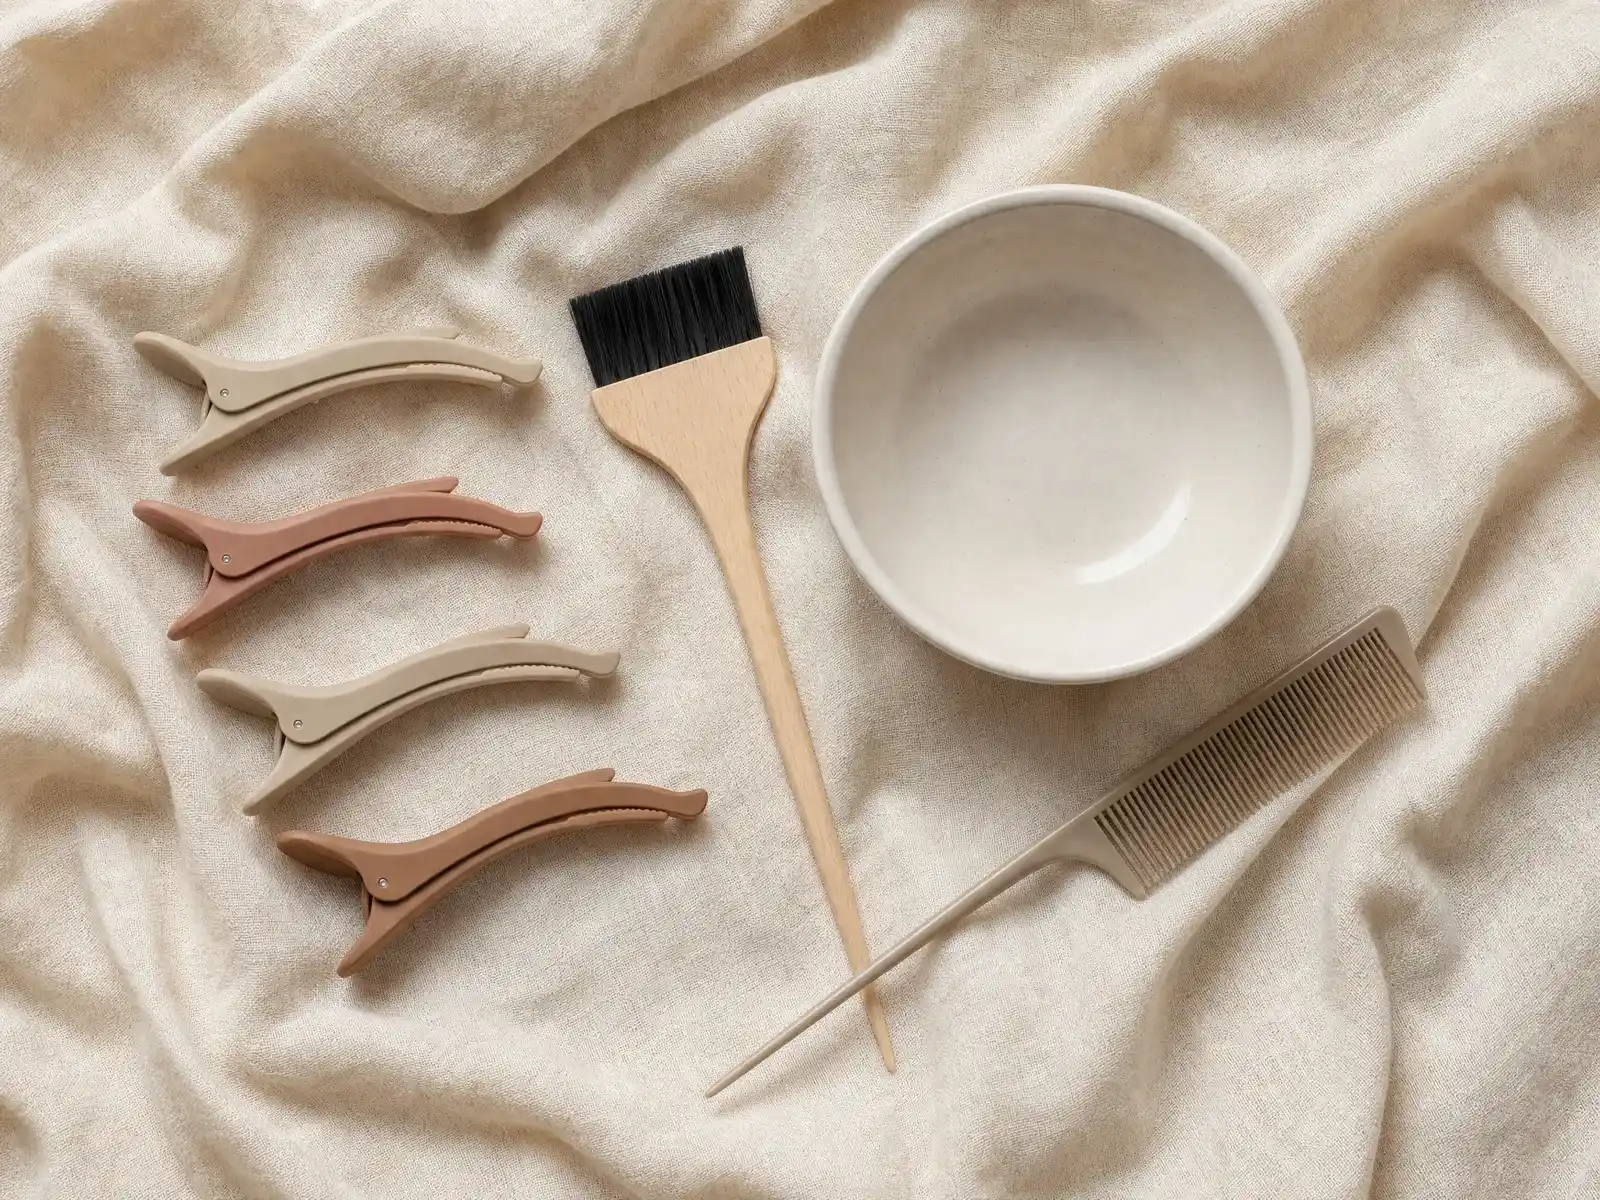
Material deserves a straight answer. Good Dye Young's guide to bleaching tools recommends mixing in a plastic, ceramic or glass bowl, because metal can interfere with the chemical reaction in the lightener mix. That sourced rule is about the bowl, and we found no study testing clip material against color, so treat all-plastic clips as cheap insurance rather than a proven requirement. The separate, non-chemical point stands: metal conducts heat, and a warm edge on a developing root band is not what you want. The full comparison is in our piece on metal versus plastic sectioning clips.
Crease risk is the real cost. A full processing time of spring pressure on wet, chemically softened hair may set a line rather than simply mark one, so the clips that belong on the panels you have not reached yet are the slim, wide-jawed no-crease clips rather than the strongest thing in the drawer.
Sectioning Clips for Root Touch Up: Work a Narrow Band
A root retouch inverts the clip's job. It is no longer holding hair you are about to paint; it is holding the lengths away from a band about a centimeter deep.
Schwarzkopf's root touch-up method is specific about that band. Use the tail comb to measure one centimeter from the hairline and apply the color up to that point, working strand by strand, starting at the back of the head because the hair there needs longer to absorb the color than the hair on top. L'Oreal's version says to sweep the dye directly onto your roots and extend it ever so slightly past the line of demarcation where your natural hair meets your dyed lengths.
Everything else is about not going further than that. eSalon's colorist tips are direct: applying color over previously colored hair can cause uneven results, so keep touch-up applications strictly to regrowth and avoid overlapping. Madison Reed says the same of already-colored hair — you should really only be coloring your roots unless you are changing shade dramatically.
Which is why clips do more work in a retouch than in a full application: every clipped panel is hair that physically cannot fall into the band you are painting. Clip high and back, well clear of the regrowth line, and pull slices down one at a time. A clip parked on wet product is moving dye around with its jaws, and the overlap you were avoiding is now smeared down the strand.
The Order to Work In
Decide the route before you mix, because the mix does not wait.
Schwarzkopf's sequence is the default: lower left panel, lower right, then the two upper panels, finishing at the forehead. It is back-to-front for a reason the guide states outright, which is that hair at the back needs longer to absorb color, so it gets the longest time on the clock.
eSalon's colorist tips offer a variant worth knowing if your gray is concentrated: start where you see the most grays, such as the temples and crown, and come back to those areas after the other sections. The stubborn spots get both the first application and the last check.
The habit that makes either route work is the same one that makes a blowout work: the clip does not come out when a panel is finished. Re-clip painted hair up and away from hair you have not reached, so the only loose hair on the head is the slice in your fingers. Do that consistently and you never paint a strand twice.
For a first all-over application going lighter, the order flips. Madison Reed's hot roots guide has you apply the lighter color to the ends first, since the ends need the longest processing time and the root area is already running fast on scalp heat. That is a virgin-hair rule, not a retouch rule, and mixing the two up is how people end up with a bright band at the scalp.
Where At-Home Sectioning Goes Wrong
Four failures account for most patchy home color, and three of them are parting problems.
The slice was too thick. The outer faces take and the core does not, which reads as a stripe once the hair dries. Scalp-visibility test, then halve it.
The panel was twisted before clipping. Twisting suits a claw clip, whose inward-facing claws cage a rope. A toothed sectioning clip wants a flat sheet across its jaw, and a twisted panel has to be fully released to take one slice out of it.
The application overlapped. Usually geometry rather than carelessness: a panel clipped too low, or a slice too wide to control, so the brush runs past the regrowth onto hair that is already colored.
Curly and coily hair was sectioned like straight hair. Curl shrinks, tends to spring back into neighboring panels and hides its own partings, so the useful move is more panels rather than wider ones, plus enough jaw depth to hold a sprung section. Our roundup of clips that hold a curly section without crushing the pattern is the shortcut.
One more gets blamed on sectioning but is not: the final comb-through. Combing color down the lengths blends the line, which some brands recommend, but it also deposits fresh product on hair you deliberately left out. On a retouch, that is how a clean band becomes an overlap.
Before the First Part: Gloves, Barrier, Patch Test
The dull preparation is the part with real safety consequences, and it is short.
The FDA's consumer checklist for hair dyes runs to a few lines: follow all directions on the label, do a patch test on your skin every time before dyeing, wear gloves, keep dye away from your eyes and off your eyebrows and eyelashes, and do not leave the product on longer than the directions say. The FDA adds that a clear skin test guarantees nothing, since it is still possible to react when you dye your hair.
To keep color on the hair rather than the face, eSalon suggests an easy-to-remove barrier such as a stain guard product or petroleum jelly along the hairline and the tops of the ears, while avoiding the strands themselves. That last clause is the one people miss: barrier on the hair at the hairline is a patch of regrowth that will not take.
Then part, clip, and do not start the timer until the head is mapped.
Putting It Together
The method fits in five lines. Map four quadrants with a center part and an ear-to-ear part over the crown. Subdivide dense or long hair into six to eight clipped panels. Work slices thin enough to see scalp through. Keep a retouch on the regrowth band and nowhere else. Re-clip finished hair up and away as you go.
Get the map right and the clip becomes a detail: any toothed clip with a jaw long enough for your panels will hold. Get it wrong and no clip helps, because the stripe was decided by the parting. When the hardware genuinely is the limit, which with product-soaked hair happens sooner than expected, our guide to which sectioning clips to use is the next stop.
Frequently Asked Questions
How many sections do you need to color your hair at home?
Should you use plastic or metal clips when coloring your hair?
Do you apply hair color to the roots first or last?

Donna Miller
Enjoyed This Guide?
Get more hair tips and product recommendations delivered weekly.