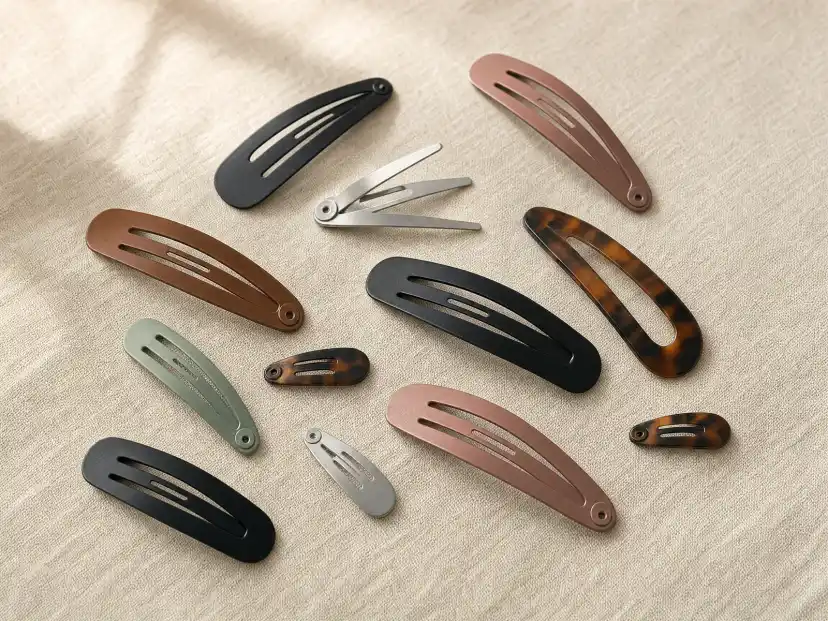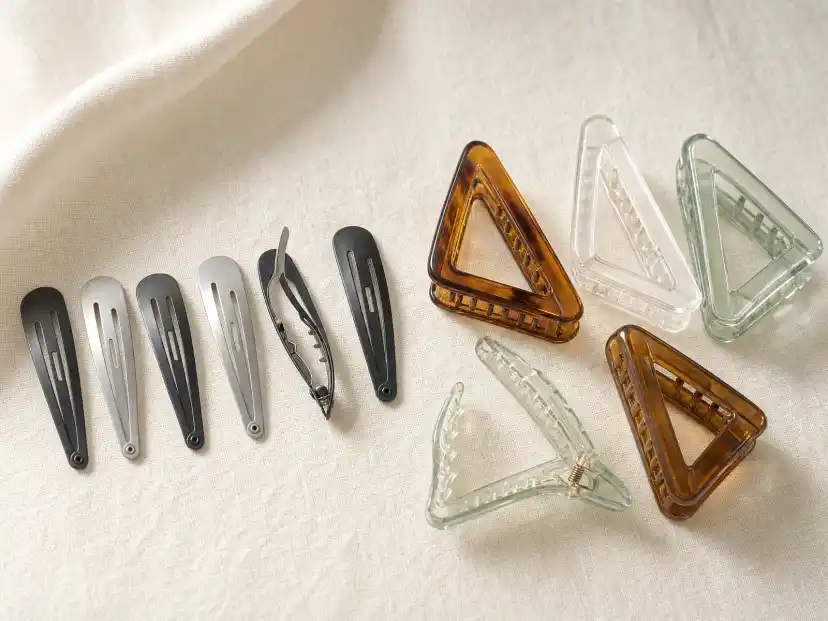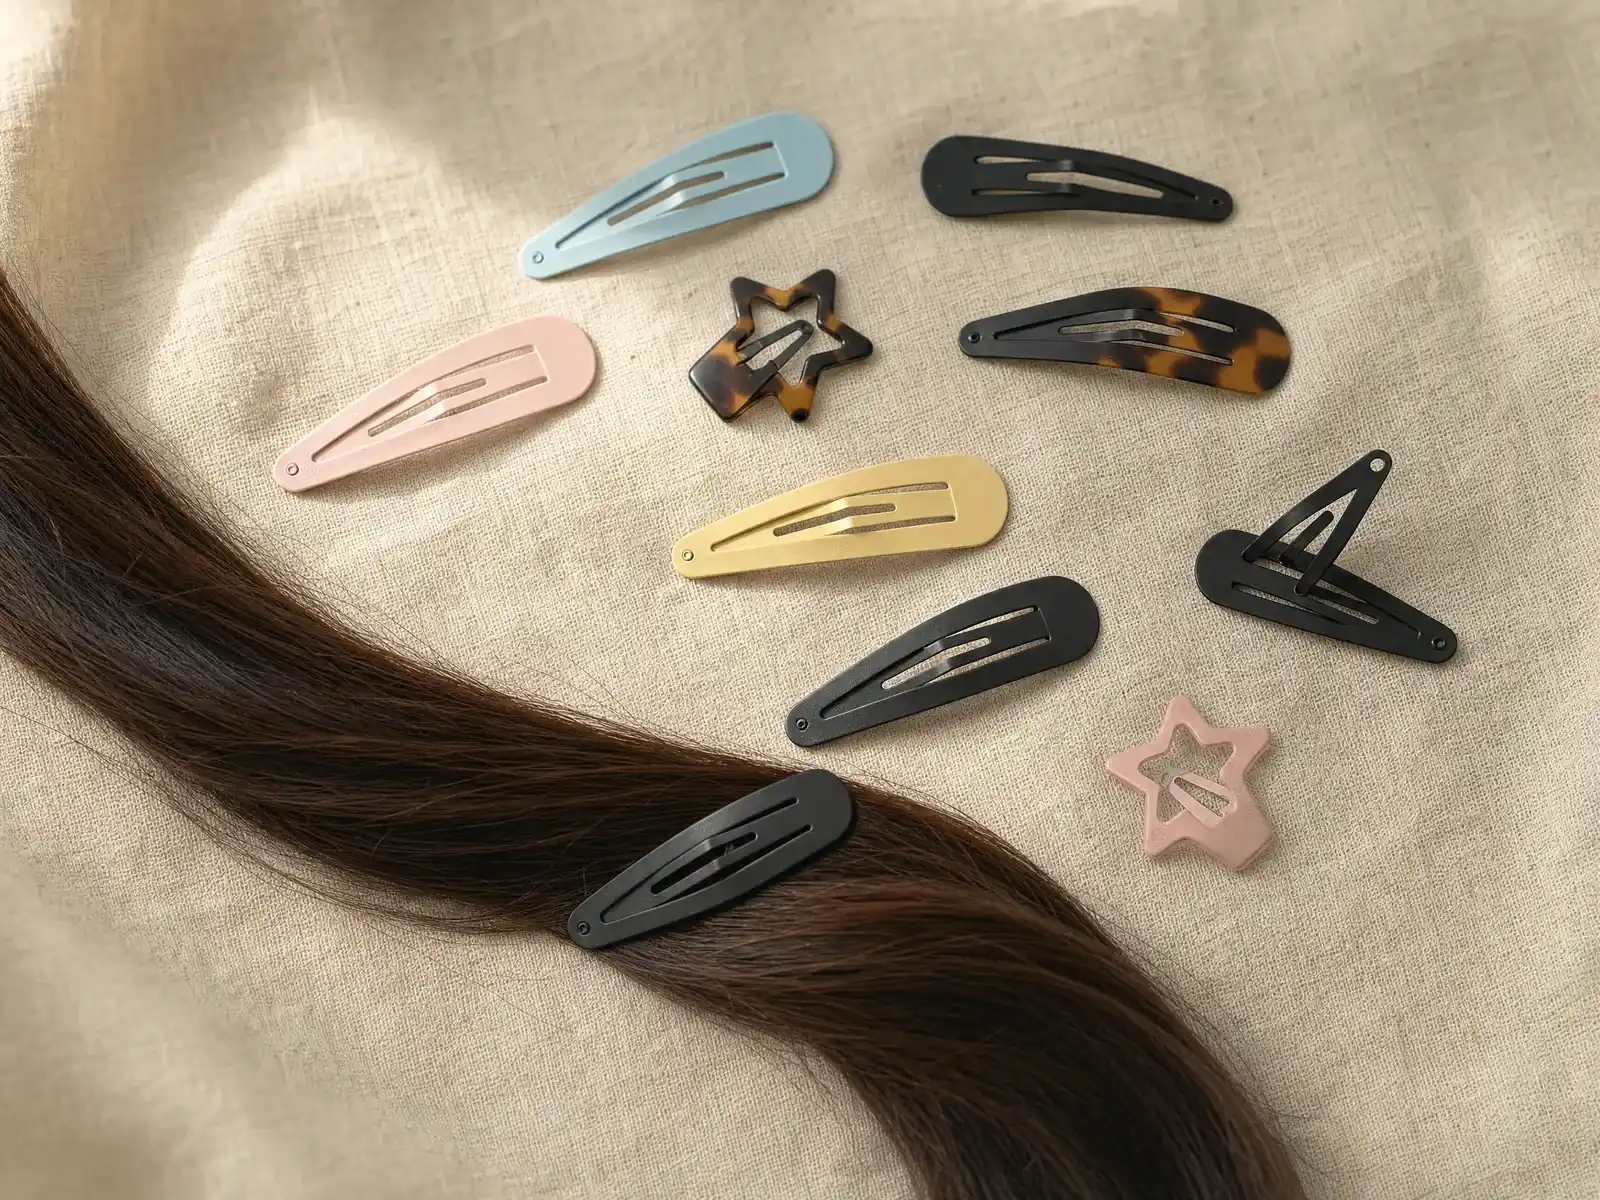
Here is how to use snap clips in one move: lay the flat plate against your scalp, feed a thin, combed-smooth section of hair under it, and press the middle until it clicks — and because the spring has exactly one closed position, hold is decided by how much hair you put in, never by how hard you squeeze.
That is the entire mechanism. The ten styles below are just ten places to aim it. We earn a commission from Amazon links on this page, at no cost to you.
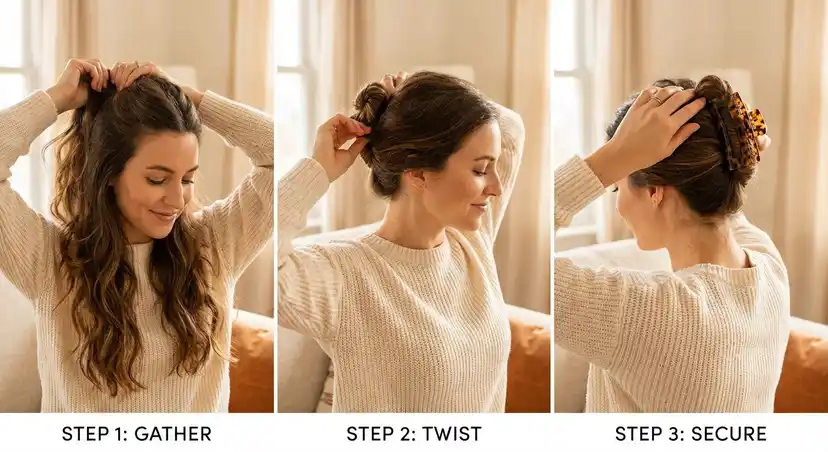
Most snap clip failures trace back to one imported habit: people treat it like a small claw clip. A claw grips by closing two curved combs around a twisted mass, so twisting first helps it. A snap clip presses a flat plate against a flat surface, so twisting first starves it. If you want the hardware and sizing picture first, start with the basics of snap hair clips and come back. This article is the styling half.
How to Use a Snap Clip: Orientation and the Two-Second Check
A snap clip is one bistable strip of metal. Press the middle and it flips from curved-up to curved-down, trapping hair between the outer plate and the inner bar that runs down its middle.
Three things follow, and they explain nearly every style on this page.
The flat plate faces your scalp. The painted, printed or decorated face is the outside. The smooth plate is the working surface, and the inner bar runs down its middle, pressing the hair flat against your head. Insert it the wrong way round and the decorated face does the pressing instead.
It wants a sheet, not a rope. Comb the section flat before the clip goes anywhere near it. This is the exact inversion of claw-clip technique, and the same inversion we covered in sectioning clips vs claw clips: straight-jaw hardware grips a plane, curved combs grip volume.
The two-second seated check. Once it clicks, push the clip gently sideways with one fingertip. If the clip travels and the hair stays put, it is holding too little and will creep down toward your ear within the hour. If hair and clip move together as one piece, it is seated. Reopen and take a wider, thinner section if it fails.
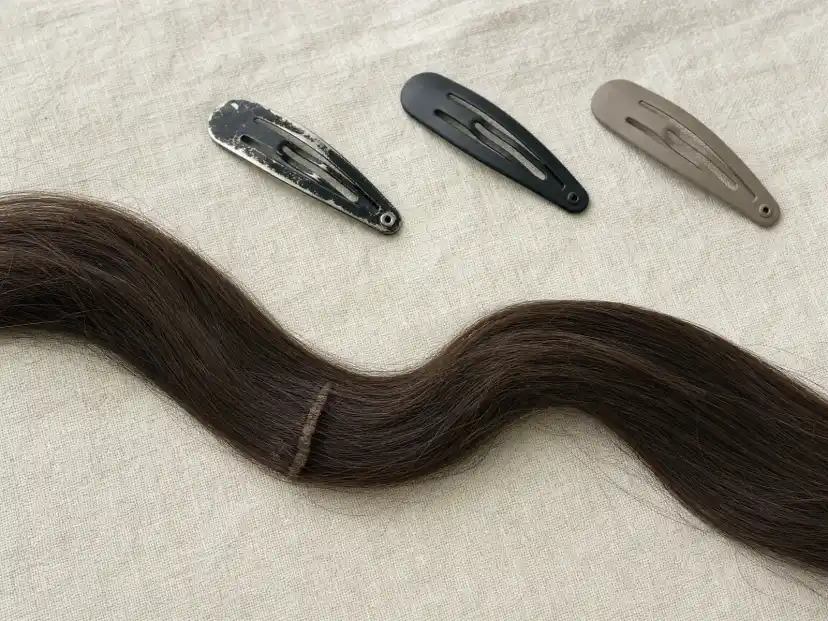
That slip failure is a materials problem as much as a technique one. The US patent application "Hair clip for firmly holding hair" notes in its background that the members of earlier clips "include surfaces with low coefficients of friction" and are therefore "prone to hair slipping out from between the clip's members". Bare plated metal is the usual culprit. A heavy-coated finish like the GKETN water drop clips at 1.89 inches (4.8 cm), about $5.98 as of October 2026, puts a higher-friction surface against the hair instead.
What to Have on Hand
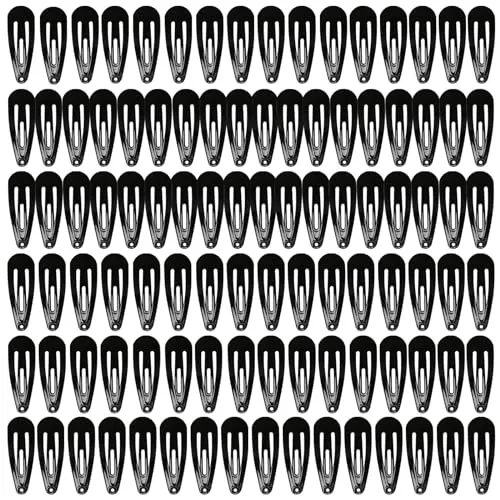
- A 2-inch clip as your default. It is the size that holds a real section without becoming jewelry. A 40-pack of 2-inch black clips like the PIDOUDOU set, around $4.99 as of October 2026, is the honest starting kit — most of these styles need two or four at once, and rationing three clips across a week is how people conclude snap clips do not work. The full ladder from 1.2 inches up to jumbo is in snap hair clip sizes.
- Something smaller for face-framing. The MJIYA 1.2-inch clips, about $4.99 as of October 2026, hold a single twisted strand at the temple without shouting.
- Day-two hair, or grip product on day one. Freshly washed, slippery hair is the hardest case for a fixed-force clip.
10 Snap Clip Hairstyles, Easiest First
1. Pinned-Back Bangs
Clips: 1. Suits: any length with a fringe.
- Comb the fringe straight back off your forehead and press it flat to the scalp.
- Set the clip an inch or so behind your hairline, plate down, the narrow end pointing back.
- Press the middle, then sweep a finger forward along the clip to flatten the lift at the front.
This is the use case the category was built around. Retail copy for Goody's Classics metal contour clips calls them "great for holding back bangs and layers" and says they "easily snap into place to control flyaway", which is a fair summary of the whole job.
2. The Deep Side Sweep
Clips: 1. Suits: medium to long, straight to wavy.
- Make a part well off-center, roughly above the arch of one eyebrow.
- Sweep the heavy side across your forehead and back behind the opposite temple.
- Clip where the sweep meets the side of your head, the narrow end angled down toward your ear.
Angle matters more than placement. Prongs pointing downward sit with gravity instead of fighting it, so the clip is not slowly levered open all afternoon.
3. The Double-Clip Crown
Clips: 2. Suits: all lengths, especially flat-at-the-root hair.
- Take a shallow section from the crown, about two fingers wide, and lift it straight up.
- Lower it back down with a little slack left in the lift and pin the base with one clip.
- Mirror it a couple of inches behind with a second clip to lock the volume in place.
Two clips in sequence beat one bigger clip here, because each holds a modest section at its own correct load rather than one overloaded clip parking near its unstable middle position.
4. The Twisted Face-Frame
Clips: 2, small. Suits: anyone with layers or shorter front pieces.
- Take a half-inch strand at each temple.
- Twist each one loosely back on itself, twice, no more.
- Flatten the end of the twist against your head and clip over the flat part, not the rope.
Here is the rule that catches people out: clip the flattened tail, not the twist itself. A twisted rope gives the plate a contact patch the width of your thumb instead of a full sheet, which is why the clip pops off in a few minutes.
5. The Half-Up with a Stacked Row
Clips: 3 to 4, matching. Suits: medium to long, any texture.
- Gather the top half of your hair as if for a half-ponytail, but keep it flat rather than gathered into a round shape.
- Fold the ends down and under, then clip the fold at the center back.
- Place two or three more clips in a vertical line directly below the first, each one slightly overlapping the last.
The stack is doing structural work, not just decoration: each clip takes a share of the weight, so no single clip carries the whole half-up. Matching colors is the whole point of a 120-piece assortment with three clips per color, about $7.99 as of October 2026 for the SWSTINLING colorful set.
6. The Growing-Out Fringe Bridge
Clips: 2, small. Suits: bangs at the eyebrow-to-cheekbone awkward stage.
- Split the fringe down the middle and push each half to its own side.
- Press each half flat against the hair at the temple and clip it there, tucked behind the front hairline rather than on top of it.
- Leave the very front few strands out so the join is not an obvious horizontal line.
That middle split is the stylist move, not just a clip trick. Speaking to Refinery29 about growing out bangs, celebrity hairstylist Jenny Cho suggested: "Part your hair in the center, and then snip the center just a bit shorter, so it separates and looks like a face frame." Clips let you fake that separation while the length catches up.
7. The Low Bun Anchor
Clips: 2. Suits: medium to long.
- Build a low bun at the nape and secure it with an elastic as usual.
- Find the two places where the bun pulls away from your head, usually at four and eight o'clock around its edge.
- Clip each one through the loose hair and into the flat hair beneath it, the narrow end pointing toward the center of the bun.
A snap clip cannot hold a bun by itself — the load is far past what a fixed-force plate can carry. What it can do is stop the sag at the edges, which is where a low bun actually loosens first.
8. The Ear-Tuck for Bobs and Short Layers
Clips: 2. Suits: chin-length bobs, shags, short layers.
- Tuck one side behind your ear and hold it there.
- Clip directly above the top of the ear, catching both the tucked hair and the hair growing above it.
- Repeat on the other side or leave it asymmetric.
Short hair is the hard case because there is less length to flatten. Clip high and behind the ear, where the skull curves, so the clip is working with the shape of your head instead of across it. Our wider guide to how to wear barrettes goes further on placement for shorter cuts.
9. The Ponytail Seam Cover
Clips: 2. Suits: medium to long, any ponytail height.
- Tie the ponytail, then smooth the top surface with a brush.
- Place one clip flat just above the elastic, catching the bumpy seam where the gathered hair changes direction.
- Add a second alongside it if your hair is dense enough to lift.
This is the only style here where the clip is doing cosmetic work rather than holding: the plate presses the lumpy transition flat. If your clips refuse to lie down over gathered hair, why barrettes keep slipping covers the same failure in detail.
10. The Y2K Criss-Cross Stack
Clips: 4 to 8, deliberately mismatched. Suits: all lengths.
- Make two shallow diagonal sections above each temple, running back toward the crown.
- Flatten the first diagonal and clip it; cross the second over it and clip that.
- Keep adding crossings outward until the pattern reads as intentional rather than accidental.
This is the one style where hold is secondary and shape is the product — which is the argument for star-shaped clips. The Secmity star clips at 1.22 inches, about $5.69 as of October 2026, come packed by color in a 55-piece set. For the full retro treatment, including the half-up and zigzag-part variants, we already wrote up a '90s snap clip look rather than repeat it here.
Wear Time Is the Variable Worth Watching
Snap clips are low-tension by design — the force is fixed and modest, and nothing here asks you to pull hair tight. That still leaves placement and duration.
The American Academy of Dermatology includes "Buns, ponytails, and up-dos that are tightly pulled" among the styles that can cause traction alopecia when worn too tight, and notes that "Your hairline is one of the first places you can see traction alopecia." Its test is blunt and useful: "If your hairstyle feels painful, the style is too tight." Its prevention advice includes loosening the style so it does not pull and switching up your hairstyle regularly so hair can recover.
Translated to clips: the fringe and temple styles above all sit near the hairline, so vary where the clip lands between wears rather than parking it in the same half-inch of scalp every day. Nothing on this page should be uncomfortable, and a clip that pinches is either on skin or overloaded.
The Bottom Line
Everything above runs on the same two instructions. Flat plate to the scalp, and a thin combed-flat section rather than a twist — the mirror image of what a claw clip wants.
Load it right and a clip costing about 12 cents holds for a full day. Load it wrong and no brand, finish or price fixes it.
If a clip is still creeping after a seated check, the next question is size rather than technique, and our complete snap clip guide covers the sizing, materials and brand differences behind that choice.

PIDOUDOU 40 Pack Black 2 Inch Metal Snap Hair Clips
Every style below works with a 2-inch black clip, and most need two or four of them. Buy the multipack and stop rationing.
We tested dozens of claw clips to find the very best options. Below you'll find our complete ranking, with detailed reviews and real customer feedback for each pick.
The Complete Ranking
Every style below works with a 2-inch black clip, and most need two or four of them. Buy the multipack and stop rationing.

The stacked-row and pattern looks need matching clips in quantity, which is exactly what a 120-piece colour assortment is for.
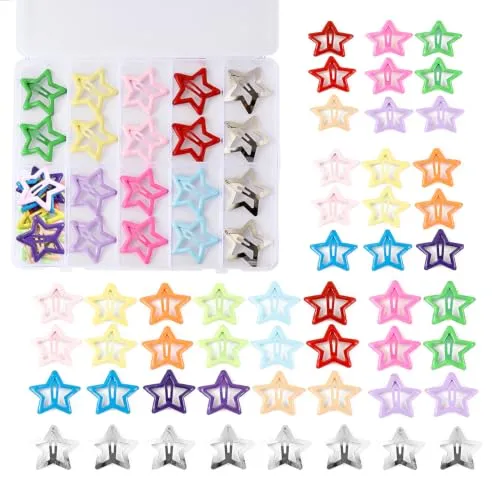
Star shapes at 1.22 inches, packed by colour. For the deliberately retro half-up and stacked-row styles rather than for hold.
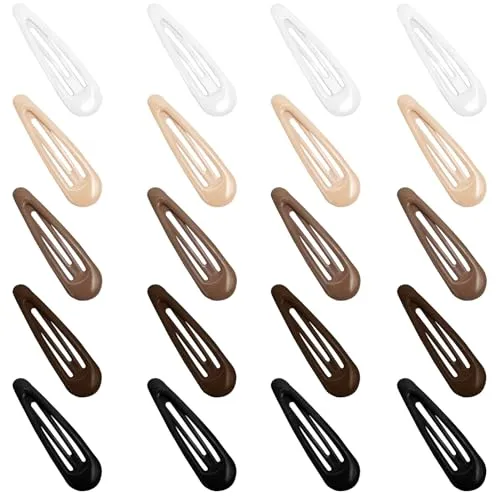
A heavy-coated finish rather than bare plated metal, which is what stops a clip creeping out of fine, freshly washed hair mid-style.
1.2 inches, so it holds a single twisted strand at the temple without announcing itself.
Quick Comparison
A side-by-side look at our top picks
Frequently Asked Questions
Which way up does a snap clip go?
Why do my snap clips keep slipping out?
Are snap clips bad for your hair?

Donna Miller
Enjoyed This Guide?
Get more hair tips and product recommendations delivered weekly.