- The Fundamentals of Invisible Pinning
- Technique 1: The Under-Layer Insert
- Technique 2: The Concealed X-Cross
- Technique 3: The Woven Hide
- Technique 4: The Slide-and-Cover
- Technique 5: The Mini Pin Substitution
- Technique 6: The Matte Advantage
- Technique 7: The Hairspray Seal
- Common Mistakes That Reveal Pins
- Visibility by Style Type
- Invisible Pinning for Different Hair Types
- Professional Secrets
- FAQs
- The Bottom Line
You've seen styles with seemingly impossible structure and zero visible pins. Professional stylists achieve this through specific techniques that anyone can learn. The key isn't special pins. It's placement, angle, and coverage.
This guide covers the techniques that make bobby pins disappear while still doing their job.
For general bobby pin information, see our ultimate guide to bobby pins. For technique basics, check how to use bobby pins: 15 essential techniques.
The Fundamentals of Invisible Pinning
The Layer Principle
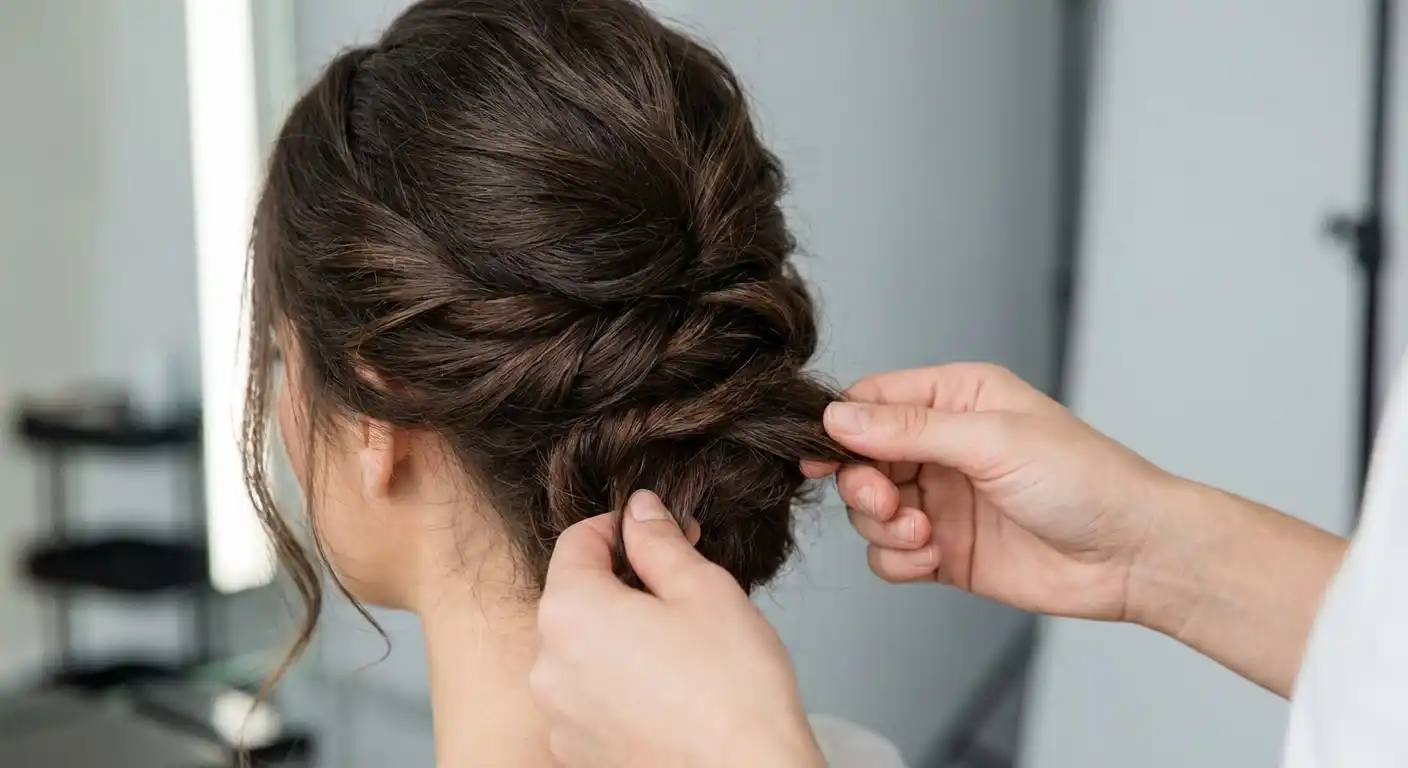
The single most important concept: pin under the visible layer, not through it.
Every hairstyle has a surface layer that people see. Everything underneath is hidden. Pin underneath, let the surface fall back over the pin. Invisible.
How to apply it:
- Identify the visible surface layer of hair
- Lift or hold that layer aside
- Insert pin into the layer(s) beneath
- Release the surface layer to cover the pin
The Angle Rule
Angle pins so the bend points inward, toward your head.
When the bend points outward, it catches light and becomes visible. When it points inward, it's hidden by the hair covering it.
How to apply it:
- As you insert, rotate so the bend will end up pointing toward your scalp
- Push until the bend is flush against your head
- Check that no part of the pin protrudes
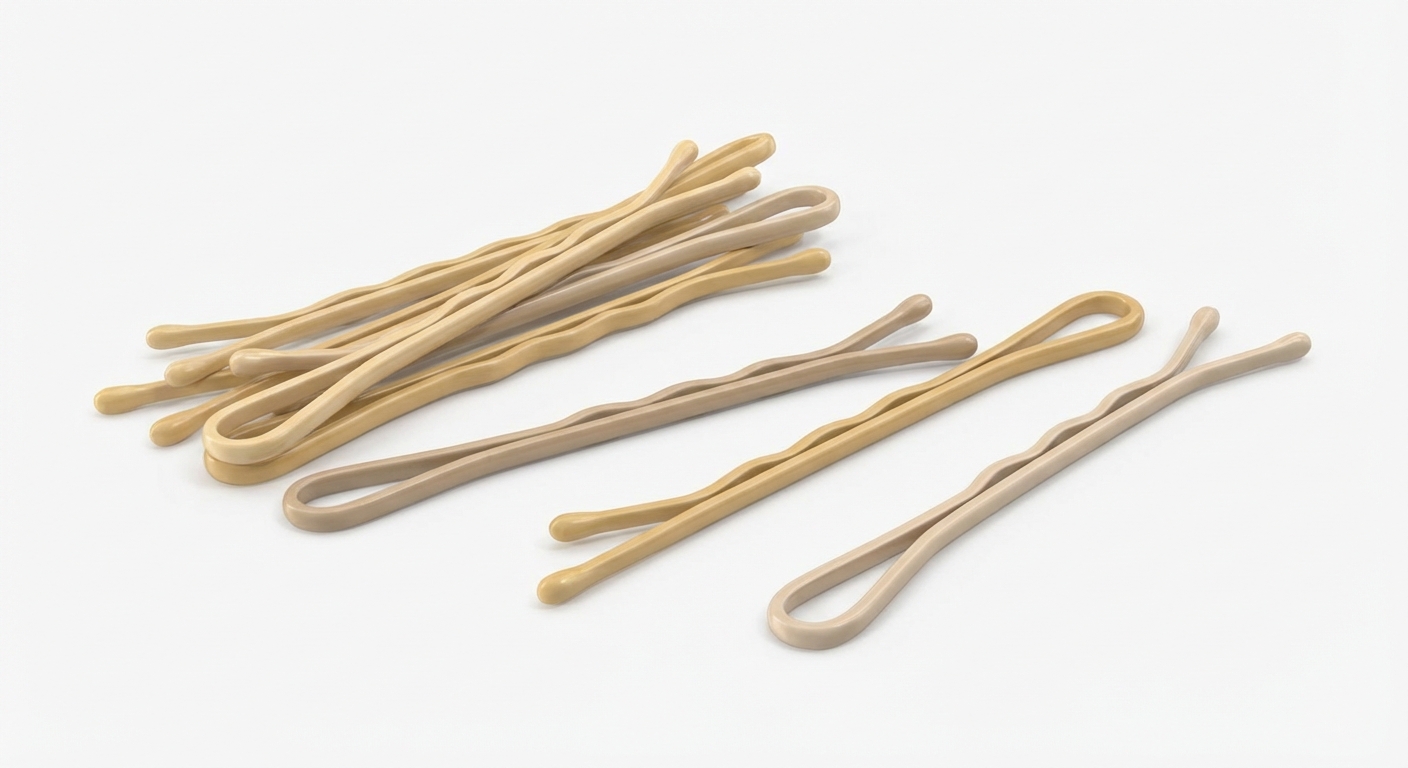
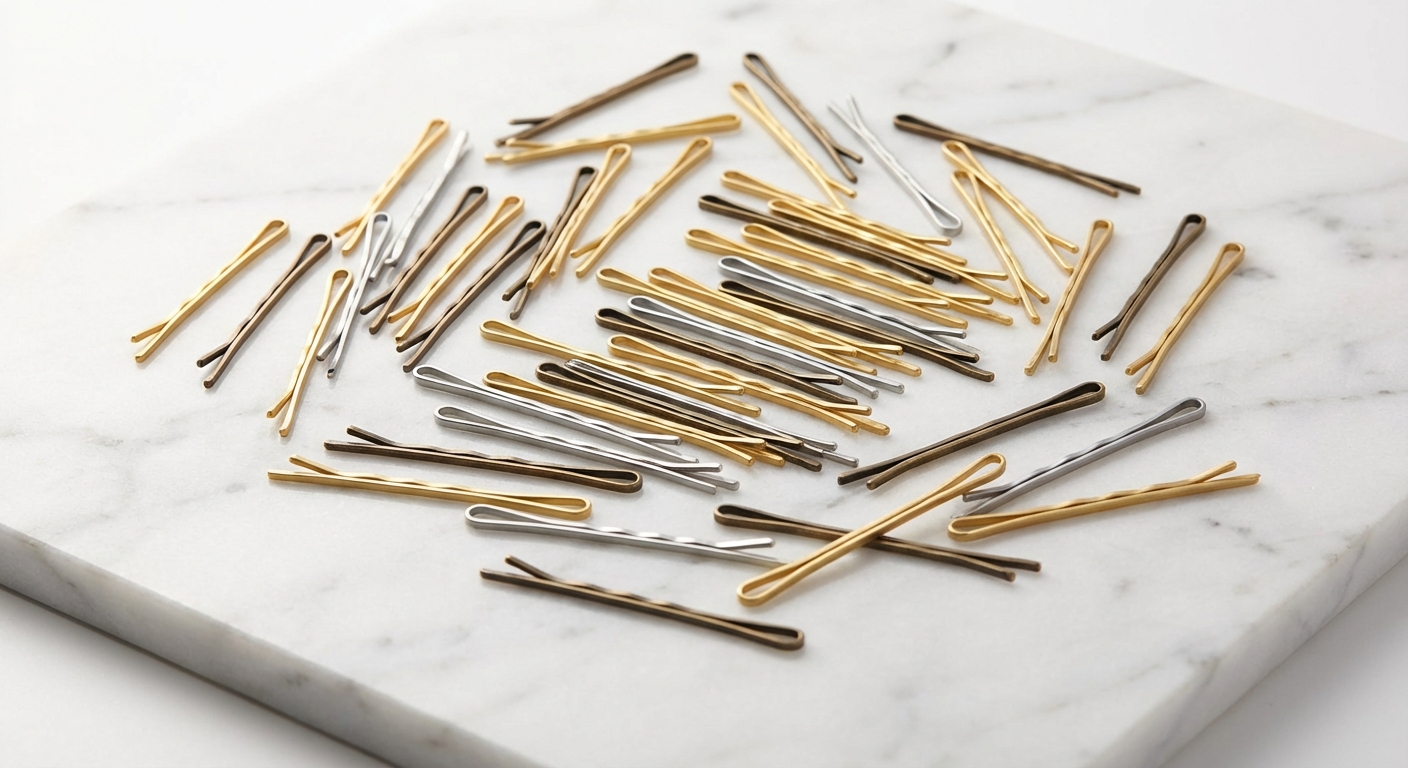
The Color Match Imperative
Even perfectly placed pins show if they're the wrong color:
| Hair Color | Pin Color |
|---|---|
| Black | Jet black |
| Dark brown | Dark brown |
| Medium brown | Medium brown |
| Light brown | Light brown/taupe |
| Blonde | Blonde/champagne |
| Red/Auburn | Auburn/copper |
| Gray/Silver | Silver/gray |
The test: Hold the pin against your hair in good light. It should nearly disappear.
Technique 1: The Under-Layer Insert
The foundational invisible pinning technique.
Steps:
- Identify where you need to pin
- Lift the surface hair layer with your non-dominant hand
- Hold it aside
- Insert pin into the underlayer, close to the scalp
- Angle bend inward
- Release surface layer to cover
- Check from multiple angles
Best for: Any pinning where you have layers to work with
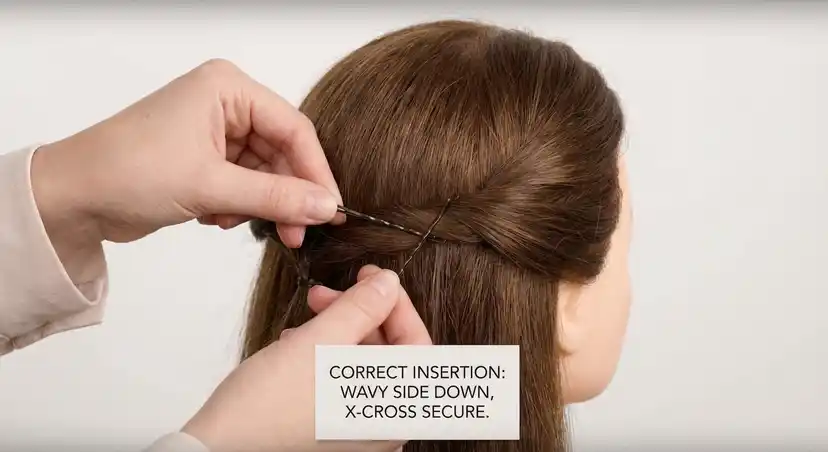
Technique 2: The Concealed X-Cross
The X-cross creates strong anchor points. Here's how to hide it.
Steps:
- Lift surface layer at anchor location
- Insert first pin at diagonal angle under the surface
- Cross second pin over first, also under surface layer
- Ensure both bends point inward
- Release surface layer
- Both crossed pins are now invisible
Best for: Foundation anchors, stress points, heavy sections
Technique 3: The Woven Hide
For sections where you're weaving pins through twists or coils.
Steps:
- Create your twist or coiled section
- Identify the outermost visible layer of the twist
- Insert pin through the twist, but enter and exit UNDER the outer layer
- The visible surface of the twist covers the pin
- Pin passes through interior layers for grip
Best for: French twists, rolled sections, coiled buns
Technique 4: The Slide-and-Cover
For times when you need to pin something to your scalp at a visible location.
Steps:
- Pin where needed
- Take a small section of nearby hair
- Smooth this section over the pin
- The section doesn't need to be pinned itself
- It just lies over the pin, hiding it
Best for: Areas with less layer availability, face-framing sections
Technique 5: The Mini Pin Substitution
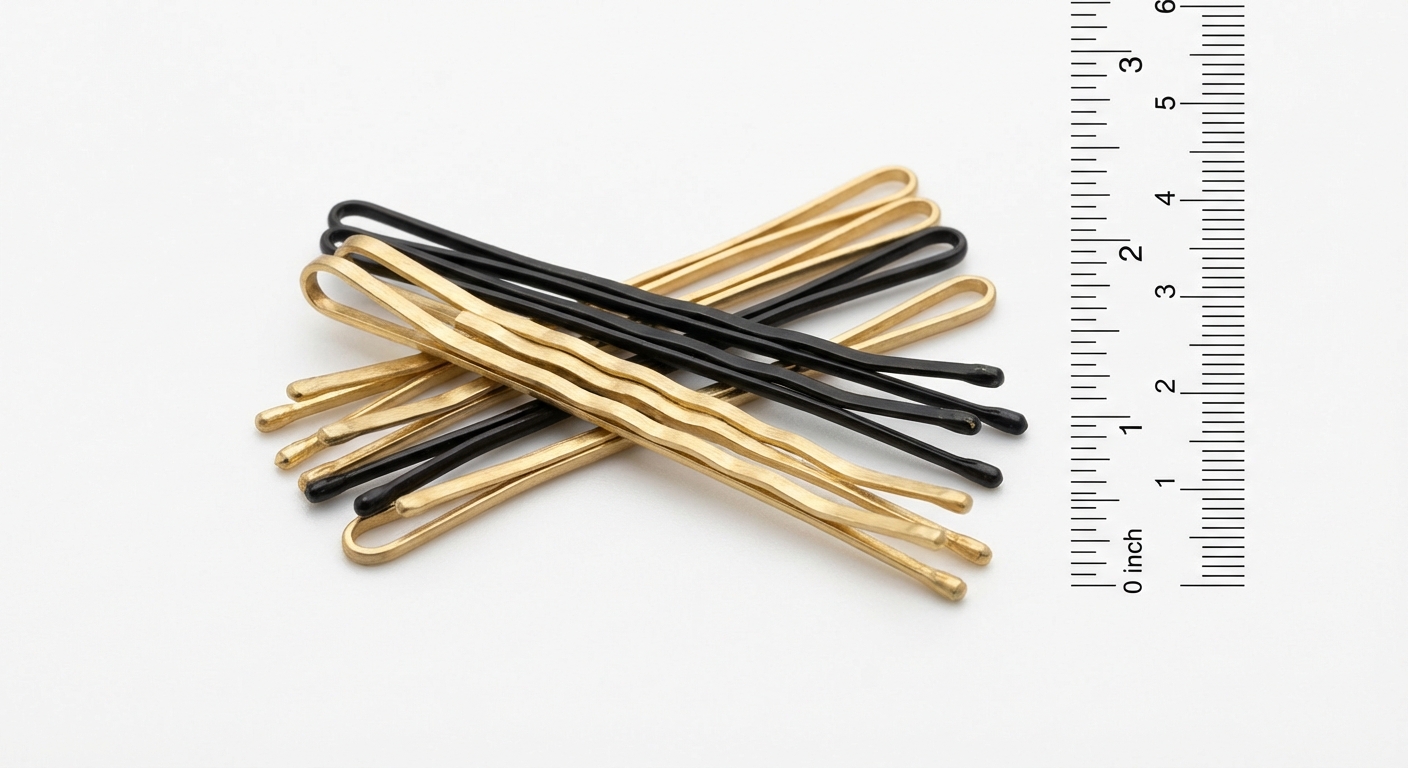
When placement makes hiding difficult, use the smallest possible pin.
Steps:
- Switch from standard to mini pins (1.5")
- Smaller size = less to hide
- Position and angle carefully
- Even if slightly visible, much less noticeable
Best for: Thin hair, areas without cover layers, visible positions
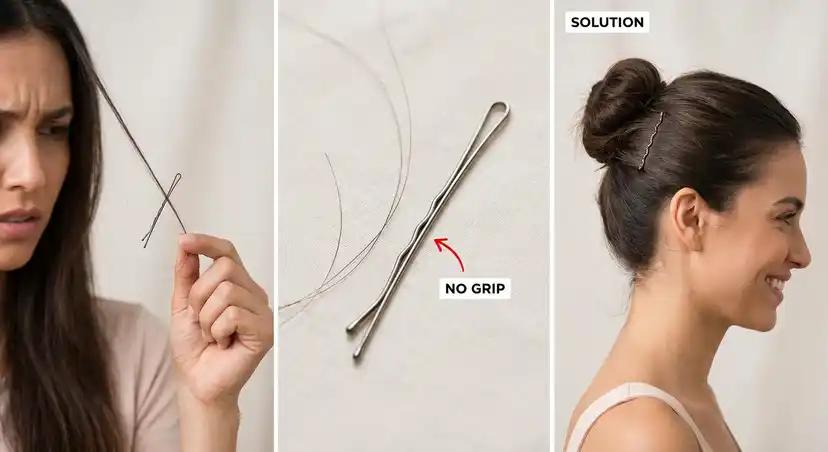
Technique 6: The Matte Advantage
Reduce visibility through pin finish choice.
Why it works: Shiny pins reflect light and catch the eye. Matte pins reflect less and blend better.
Application:
- Choose matte-finish pins over shiny
- Even correctly placed shiny pins can glint
- Matte finishes are more forgiving of slight exposure
Technique 7: The Hairspray Seal
After hiding pins, set the covering hair in place.
Steps:
- Complete your pin placement using hiding techniques
- Light mist of hairspray over the covering layers
- Gently smooth covering hair
- The hairspray helps the cover stay in place
- Prevents accidental reveal from movement
Why it works: The cover layer stays positioned over the pins instead of shifting to expose them.
Common Mistakes That Reveal Pins
Mistake 1: Pinning Through Surface Layer
The problem: Pin goes through visible hair, making it visible. The fix: Always lift surface layer, pin underneath.
Mistake 2: Bend Pointing Outward
The problem: The bent end of the pin catches light. The fix: Rotate so bend points toward scalp.
Mistake 3: Wrong Color
The problem: Contrasting color makes pins obvious. The fix: Match pin color exactly to hair color.
Mistake 4: Pins Sticking Out
The problem: Partial insertion leaves pins protruding. The fix: Push until bend is flush against head.
Mistake 5: No Coverage Available
The problem: Pinning in a spot with no hair to cover it. The fix: Use slide-and-cover technique, or accept decorative visible placement.
Visibility by Style Type
High Invisibility Potential
- Layered updos (lots of cover material)
- Low buns (covered by length above)
- French twists (rolls hide pins)
- Styles with volume (volume provides cover)
Challenging for Invisibility
- Sleek, flat styles (no cover layers)
- Short hair (limited coverage)
- Thin hair (shows pins through)
- Half-up styles (visible gathering points)
Tips for Challenging Styles
- Use mini pins
- Match colors exactly
- Accept that some visibility may be inevitable
- Consider decorative pins as an alternative
Invisible Pinning for Different Hair Types
Thick Hair
Advantage: Lots of hair provides good coverage. Challenge: May need more pins, creating more to hide. Tip: Use fewer jumbo pins instead of many standard pins.
Thin Hair
Challenge: Less coverage material. Tip: Match color exactly, use mini pins, embrace strategic visible placement.
Short Hair
Challenge: Minimal hair to create cover layers. Tip: Embrace decorative visible pins as a style choice.
Curly Hair
Advantage: Texture provides natural concealment. Tip: Pin at roots where curls provide cover.
Professional Secrets
How Stylists Hide 30+ Pins
- Work in layers: Build from the bottom, each layer covers the one below
- Create structure first: Foundation pins are deepest and most hidden
- Finish on surface: Final smoothing and any visible touches last
- Use multiple colors: Different pins for different sections if hair has variation
- Check all angles: Walk around the style checking for exposure
The "Finished Look" Check
Before considering a style done:
- Check front (mirror)
- Check sides (hand mirror or photos)
- Check back (second mirror or photo)
- Look for glinting metal (light reflection)
- Smooth any visible pins or covering hair
FAQs
Why can't I hide bobby pins like professionals?
Usually it's the layer principle. Professionals always pin under the surface layer. Amateurs often pin through visible hair. Lift the top layer first, every time.
What size pins are easiest to hide?
Mini pins (1.5") are easiest to hide. But if you need the grip of larger pins, technique matters more than size.
Why do my hidden pins become visible later?
Movement shifts covering hair. Apply light hairspray to set the covering layer in place, and use less-slippery styling products.
Do matte pins really make a difference?
Yes. Shiny pins reflect light even when well-placed. Matte pins are more forgiving and less likely to catch attention with light reflection.
How do I hide pins in thin hair?
Exact color matching is essential. Use mini pins. Accept that some visibility may be inevitable. Consider decorative pins instead of trying to hide poor concealment.
Can I always hide bobby pins?
Not always. Very short hair, sleek flat styles, and thin hair make complete concealment difficult. In those cases, decorative visible pins are often the better choice.
The Bottom Line
Invisible bobby pin placement comes down to:
- Pin under, not through: Lift the surface layer, pin underneath
- Angle inward: Bend points toward scalp, not outward
- Match colors: Exact color match is essential
- Full insertion: Push until bend is flush
- Set in place: Light hairspray keeps covers positioned
With practice, these techniques become automatic. You'll place pins that disappear naturally, and wonder why you ever had visible pins in your styles.
For more techniques, see how to use bobby pins: 15 essential techniques. For complete bobby pin guidance, visit our ultimate guide to bobby pins.
Conair Blonde Bobby Pins (90 Pack)
Color matching is half the invisibility battle. Available in blonde, brunette, and black—exact color matching makes pins disappear.
“Color match is everything for invisible pinning. These disappear....”
We tested dozens of claw clips to find the very best options. Below you'll find our complete ranking, with detailed reviews and real customer feedback for each pick.
The Complete Ranking
Conair Blonde Bobby Pins (90 Pack)
“Color match is everything for invisible pinning. These disap...” — Verified Buyer
Color matching is half the invisibility battle. Available in blonde, brunette, and black—exact color matching makes pins disappear.
“Color match is everything for invisible pinning. These disappear.”
— Verified Buyer
MetaGrip Premium Bobby Pins (100 Pack)
“Stays exactly where I place it, even hidden under layers....” — Verified Buyer
Invisible techniques require pins that stay where you place them. The grip coating keeps pins secure even when positioned for concealment.
“Stays exactly where I place it, even hidden under layers.”
— Verified Buyer
Small Mini Bobby Pins 1.38" (100 Pack)
“Mini size hides perfectly. Great for finishing work....” — Verified Buyer
Smaller pins are easier to hide. Mini pins for invisible finishing touches and detail work where standard pins would show.
“Mini size hides perfectly. Great for finishing work.”
— Verified Buyer
Color match is everything for invisible pinning. These disappear.
Quick Comparison
A side-by-side look at our top picks
Frequently Asked Questions
The Professional Secret
The Layer Principle
Color Matching Matters

Donna Miller
Enjoyed This Guide?
Get more hair tips and product recommendations delivered weekly.