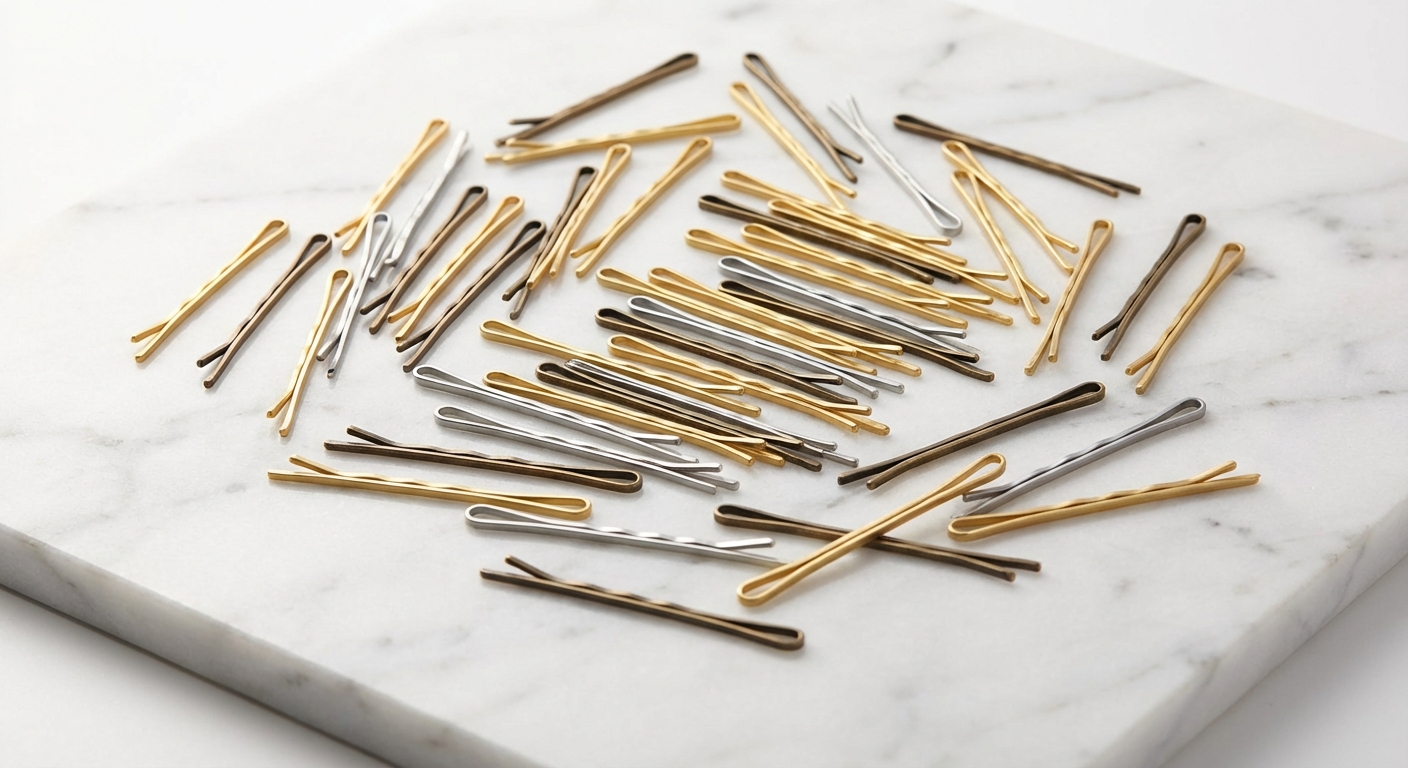
Bobby pins are the most versatile hair tool you own. But most people know only one way to use them: slide in and hope for the best. Professional hairstylists have an entirely different relationship with bobby pins because they know techniques that transform these simple tools into precision styling instruments.
This guide covers 15 essential bobby pin techniques, from fundamental skills everyone should know to advanced methods for elaborate styles. Master these, and you'll never struggle with bobby pins again.
For basic bobby pin information, see our ultimate guide to bobby pins. If your pins keep falling out, check why do my bobby pins fall out for troubleshooting.
Fundamental Techniques
These five techniques form the foundation. Master them first.
Technique 1: Proper Orientation
Difficulty: Beginner Time: Instant Impact: Doubles grip strength
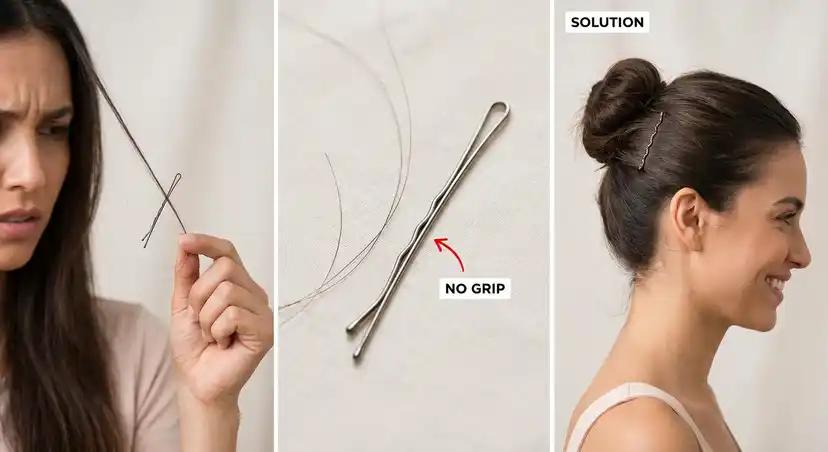
The most important technique is the simplest: use bobby pins right-side up.
The Rule: Wavy side faces your scalp. Flat side faces outward.
Why It Works: The waves are designed to grip hair against your head. When facing outward, they grip nothing. Proper orientation approximately doubles the pin's holding power.
How to Practice:
- Hold a bobby pin in front of you
- Identify the wavy/crimped side
- Turn pin so waves face toward you (toward scalp when inserting)
- Insert with waves down, flat side up
Common Error: Looking at the pin from above while it's in hair. From this angle, you want to see the flat side, not the wavy side.
Technique 2: The Slide-In (No Opening)
Difficulty: Beginner Time: Seconds Impact: Preserves pin lifespan, better initial grip
Instead of opening pins wide before inserting, slide them in while keeping prongs close together.
Why It Works: Opening pins weakens the spring over time. Sliding in while closed maintains tension and lets the pin's spring work as designed.
How to Do It:
- Position pin at entry point
- Keep prongs close together
- Push pin into hair, letting it part hair naturally
- Feel the resistance, don't fight it
- Continue until bend is flush with scalp
When to Adapt: Very thick hair may require slight opening. If so, open minimally, not wide.
Technique 3: Full Insertion
Difficulty: Beginner Time: Seconds Impact: Maximum grip surface
Pins sticking out are only gripping with part of their length. Full insertion uses the entire pin.
Why It Works: The whole prong length should be in your hair, creating maximum friction and grip. The bend should touch your scalp.
How to Do It:
- Insert pin using slide-in technique
- Push until you feel the bend contact your scalp
- If the bend is visible, push further
- Only the very tip should potentially show (and often not even that)
Troubleshooting: If pins won't go in fully, you may be hitting an awkward angle, pinning too much hair at once, or using too-short pins.
Technique 4: Directional Placement
Difficulty: Beginner Time: Seconds Impact: Reduces stress on pins, improves hold
Point pins in the direction the style moves, not against it.
Why It Works: Hair naturally wants to move in the direction of the style. Pins that align with this movement experience less stress. Pins that oppose it are constantly fighting.
How to Do It:
- Identify the direction hair is moving (up, back, to the side)
- Insert pin pointing in that same direction
- For upward styles, point pins up
- For side-swept styles, angle pins toward the sweep
Example: In a French twist where hair wraps upward, pins should point up, not horizontally.
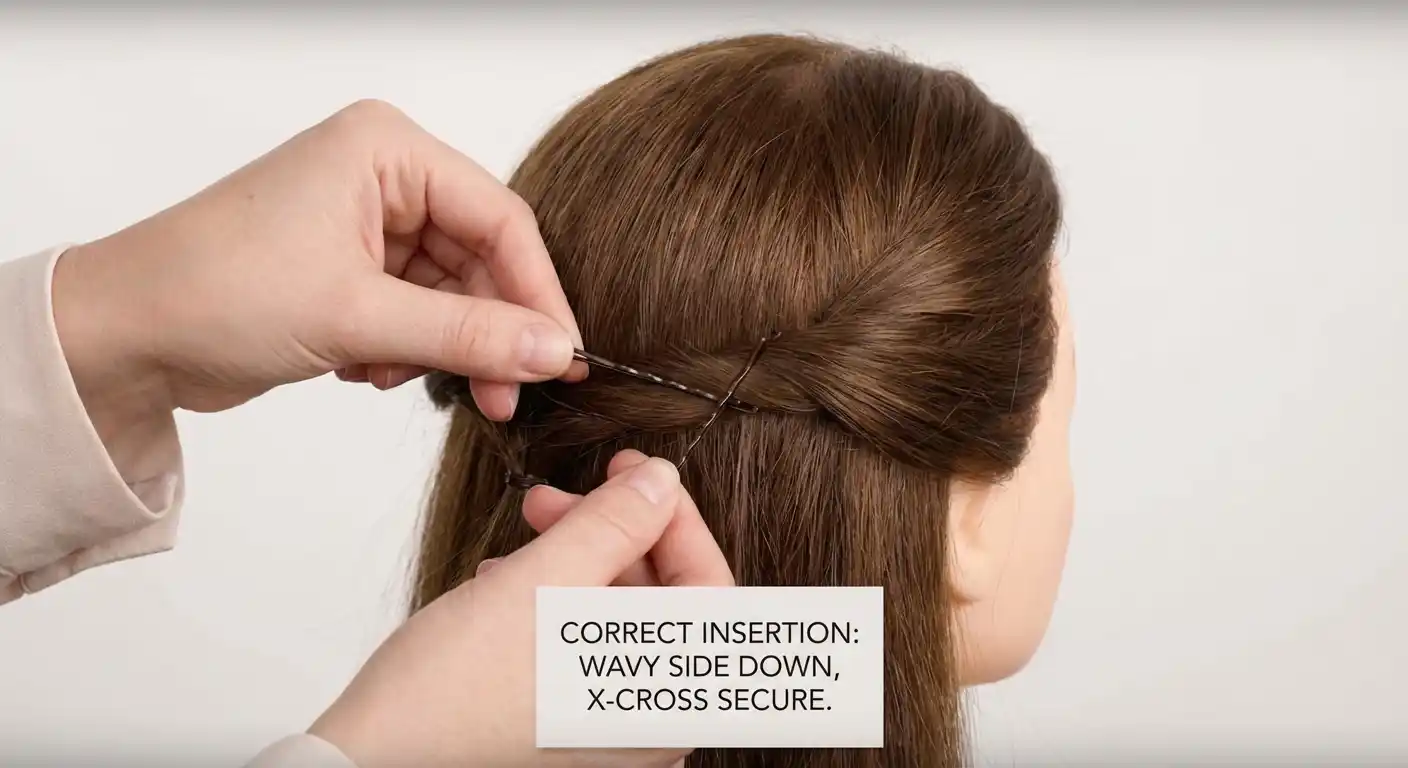
Technique 5: The X-Cross
Difficulty: Beginner Time: 10-15 seconds Impact: Creates secure anchor points
Two pins crossed in an X formation create a lock that neither pin could achieve alone.
Why It Works: Each pin prevents the other from sliding in any direction. The X creates a structural anchor rather than relying on friction alone.
How to Do It:
- Insert first pin at a diagonal angle (say, pointing to 2 o'clock)
- Insert second pin crossing over first at opposite diagonal (pointing to 10 o'clock)
- The pins should cross near their midpoints
- Both pins should be fully inserted with bends flush
When to Use: Stress points in any style, heavy sections, anywhere pins tend to work loose.
Intermediate Techniques
Build on the fundamentals with these more advanced methods.
Technique 6: The Lock Method
Difficulty: Intermediate Time: 15-20 seconds Impact: Creates mechanical lock between pins
Similar to X-cross but specifically designed to lock pins to each other.
Why It Works: The second pin catches the first, creating an interlocked structure that can only fail if both pins fail simultaneously.
How to Do It:
- Insert first pin fully
- For second pin, slide it under the first pin's prongs
- As you insert, the second pin should catch on the first
- Both pins are now mechanically connected
- Pulling on one pulls on both
Best For: Critical anchor points, styles that will be stressed (dancing, wind, active wear).
Technique 7: The Weave
Difficulty: Intermediate Time: 20-30 seconds Impact: Maximum security for updos
Instead of pinning to scalp only, weave the pin through multiple hair sections.
Why It Works: Each layer the pin passes through adds grip. The hair itself holds the pin in place, not just friction against the scalp.
How to Do It:
- Identify where you want to secure (base of a twist, edge of a bun)
- Insert pin into the section you're securing
- Angle pin to pass through a second section underneath
- Continue into a third section if possible
- End with pin against scalp
Example: For a twisted bun, the pin goes through the twist, through hair underneath the twist, into hair at the scalp.
Technique 8: The Anchor Point
Difficulty: Intermediate Time: 30+ seconds Impact: Creates foundation for building styles
Before building volume or elaborate sections, create a stable anchor to build from.
Why It Works: Complex styles need a foundation. An anchor point gives you something secure to attach additional sections to.
How to Do It:
- Choose anchor location (often crown for updos, behind ear for side styles)
- Create a small, tight twist of hair at this location
- Secure with X-crossed pins
- This anchor becomes your attachment point
- Build additional sections by pinning to this anchor
When to Use: Elaborate updos, styles with multiple sections, anything that needs to build height or volume.
Technique 9: Hairspray + Pin Combo
Difficulty: Beginner Time: 30 seconds Impact: Significantly improves grip on slippery hair
Use hairspray strategically with bobby pins for better hold.
Why It Works: Hairspray adds texture and tackiness that gives pins more to grip, especially on clean, slippery, or fine hair.
Three Methods:
Method A: Spray Before
- Spray the section you're about to pin
- Let dry 5-10 seconds (should feel tacky, not wet)
- Insert pin into the sprayed section
Method B: Spray Pins
- Spray hairspray directly onto the bobby pins
- Let dry slightly
- Insert tacky pins into hair
Method C: Spray After
- Create your style
- Spray finished style
- Helps set everything in place
Best For: Fine hair, freshly washed hair, updos that need to last all day.
Technique 10: Hidden Placement
Difficulty: Intermediate Time: Extra 5-10 seconds per pin Impact: Invisible pins in finished style
Place pins so they're completely hidden by hair layers.
Why It Works: Professional styles use many pins but show none. The secret is placement under the visible surface layer.
How to Do It:
- Lift the top/surface layer of hair at your pin location
- Insert pin into the layer underneath
- Let top layer fall back over the pin
- The pin is covered by the surface hair
For Maximum Invisibility:
- Use mini pins when possible
- Match pin color to hair color exactly
- Angle pins so bends point inward (hidden)
- Use matte-finish pins (reflect less light)
See also: how to hide bobby pins: invisible placement techniques.
Advanced Techniques
These techniques require practice but enable professional-level styling.
Technique 11: The Twist Capture
Difficulty: Advanced Time: 30-45 seconds Impact: Secure hold on twisted sections
A specific method for securing twists that uses the twist itself as part of the grip.
Why It Works: Instead of just pinning a twist to your head, this technique weaves through the twist, capturing multiple strand rotations.
How to Do It:
- Create your twist (French twist, simple twist, etc.)
- Hold twist in place with non-dominant hand
- Insert pin at the edge of the twist, pointing inward
- Weave pin through 2-3 rotations of the twist
- Exit pin through the twist and into hair beneath
- The twist is captured around the pin
Visual: Imagine sewing through the twist with the pin as your needle.
Technique 12: The Floating Pin
Difficulty: Advanced Time: 20-30 seconds Impact: Adds volume without visible support
Creates lift or volume at a specific point using pins that aren't visible or touching the scalp directly.
Why It Works: Sometimes you need to support hair in the middle of a section, not at the scalp. Floating pins anchor to other hair or pins.
How to Do It:
- Create base anchor (X-cross at scalp or prior section)
- Identify where you need support in the free-hanging section
- Insert pin through the section needing support
- Weave pin into the existing anchor or pinned section
- The pin floats in the middle, supported by other structure
Best For: Volume at the crown, supporting the back of French twists, mid-style support.
Technique 13: The Circle Secure
Difficulty: Advanced Time: 45-60 seconds Impact: Extremely secure hold for buns and coils
Uses multiple pins in a circular pattern to create a comprehensive lock.
Why It Works: Pins placed in a circle catch hair from all directions, preventing movement in any direction.
How to Do It:
- Create your bun or coiled section
- Starting at 12 o'clock position, insert first pin pointing toward center
- Move to 3 o'clock, insert pin pointing toward center
- Continue at 6 and 9 o'clock
- Add pins between these points if needed
- Each pin points inward, creating a securing circle
Result: A bun secured from all angles that would need all pins to fail to come loose.
Technique 14: The Bridge
Difficulty: Advanced Time: 30-40 seconds Impact: Connects separate sections into one structure
Uses pins to bridge between two separate hair sections, creating structural connection.
Why It Works: Elaborate styles often have multiple sections that need to relate to each other. Bridges create connections that let sections support each other.
How to Do It:
- Create first section, secure to scalp
- Create second section nearby
- Insert pin through first section
- Weave pin into second section
- Pin ends at scalp between the two sections
- Both sections now share structural support
Best For: Multi-section updos, styles with distinct parts that need to stay together.
Technique 15: The Foundation Grid
Difficulty: Advanced Time: 2-3 minutes Impact: Enables elaborate styles, maximum hold
Creates a grid of crossed pins at the scalp as a foundation to build upon.
Why It Works: For very elaborate styles, individual anchor points aren't enough. A grid provides attachment points anywhere you need them.
How to Do It:
- Section hair up and away from work area
- Create row of horizontal pins across base of style
- Create row of vertical pins crossing the horizontal
- Result: grid pattern of crossed pins
- Attach style sections anywhere on the grid
- Cover grid completely with styled hair
When to Use: Wedding updos, editorial styles, any elaborate style with multiple sections, competition styling.
Quick Reference by Style Type
For Half-Up Styles
| Technique | When to Use |
|---|---|
| X-cross | At the gathering point |
| Hidden placement | Cover pins with top layer |
| Directional | Point pins toward back |
For Buns
| Technique | When to Use |
|---|---|
| Circle secure | Around the bun edge |
| Weave | Through rolled/twisted sections |
| Anchor point | At base before building |
For French Twists
| Technique | When to Use |
|---|---|
| Twist capture | Along the twist length |
| Foundation grid | For elaborate versions |
| Floating pins | To maintain volume at crown |
For Elaborate Updos
| Technique | When to Use |
|---|---|
| Foundation grid | Create base structure |
| Bridge | Connect sections |
| Lock method | Critical anchor points |
| All advanced techniques | As needed |
Practicing the Techniques
Week 1: Fundamentals
Practice techniques 1-5 until automatic:
- Proper orientation (do it without thinking)
- Slide-in method (stop opening pins)
- Full insertion (no visible bends)
- Directional placement (match style direction)
- X-cross (use at every anchor point)
Week 2: Intermediate
Add techniques 6-10:
- Lock method (test by tugging)
- Weave (practice on simple twists)
- Anchor point (use for any updo)
- Hairspray combo (test what works for your hair)
- Hidden placement (aim for zero visible pins)
Week 3+: Advanced
Attempt techniques 11-15:
- Twist capture (practice on French twists)
- Floating pin (use for volume at crown)
- Circle secure (master on simple buns)
- Bridge (connect two sections)
- Foundation grid (build elaborate styles)
FAQs
How many techniques do I really need to know?
The first five fundamental techniques handle 80% of styling needs. Add the intermediate techniques for more elaborate styles. Advanced techniques are for professional-level or special occasion styling.
Which technique is most important?
Proper orientation (technique 1). Using pins right-side up has more impact than any other single change. If you learn only one thing, learn this.
How do I practice these techniques?
Start with simple styles. Practice one technique at a time. A basic half-up style lets you practice X-cross, hidden placement, and directional placement. A simple bun lets you practice circle secure and weave.
How long until these become automatic?
Most people find the fundamental techniques become automatic within 1-2 weeks of conscious practice. Intermediate techniques take a bit longer. Advanced techniques require ongoing practice but become easier with each use.
Can I combine techniques?
Absolutely. Most styles use multiple techniques together. An X-cross (technique 5) with hidden placement (technique 10) and hairspray (technique 9) is a common combination. Think of techniques as building blocks.
Do these work for all hair types?
Yes, with adaptations. Curly hair benefits from gentler insertion. Thick hair needs larger pins. Fine hair needs grip coating. But the techniques themselves apply universally. See hair-type specific guides for adaptations.
What if a technique isn't working?
Usually it's one of:
- Wrong technique for the situation (try a different one)
- Wrong pin size for your hair (see troubleshooting guide)
- Needing more practice (techniques get easier)
The Bottom Line
Bobby pin mastery comes from technique, not just buying better pins. These 15 techniques, from the fundamental (proper orientation) to the advanced (foundation grid), give you the skills to create any style with bobby pins.
Start with the fundamentals:
- Right-side up (wavy toward scalp)
- Slide in without opening
- Full insertion
- Match style direction
- X-cross at anchor points
Build to intermediate and advanced techniques as your styling needs grow. With practice, these techniques become automatic, and bobby pins become the reliable styling tools they were designed to be.
For complete bobby pin information, see our ultimate guide to bobby pins. For troubleshooting, check why do my bobby pins fall out. And for style inspiration, explore bobby pin hairstyles for work and bobby pin hairstyles for weddings.
MetaGrip Premium Bobby Pins (100 Pack)
Quality pins make techniques easier to learn. The grip coating provides consistent hold while you master the 15 techniques in this guide.
“Great for practicing techniques. Consistent grip helps me learn....”
We tested dozens of claw clips to find the very best options. Below you'll find our complete ranking, with detailed reviews and real customer feedback for each pick.
The Complete Ranking
MetaGrip Premium Bobby Pins (100 Pack)
“Great for practicing techniques. Consistent grip helps me le...” — Verified Buyer
Quality pins make techniques easier to learn. The grip coating provides consistent hold while you master the 15 techniques in this guide.
“Great for practicing techniques. Consistent grip helps me learn.”
— Verified Buyer
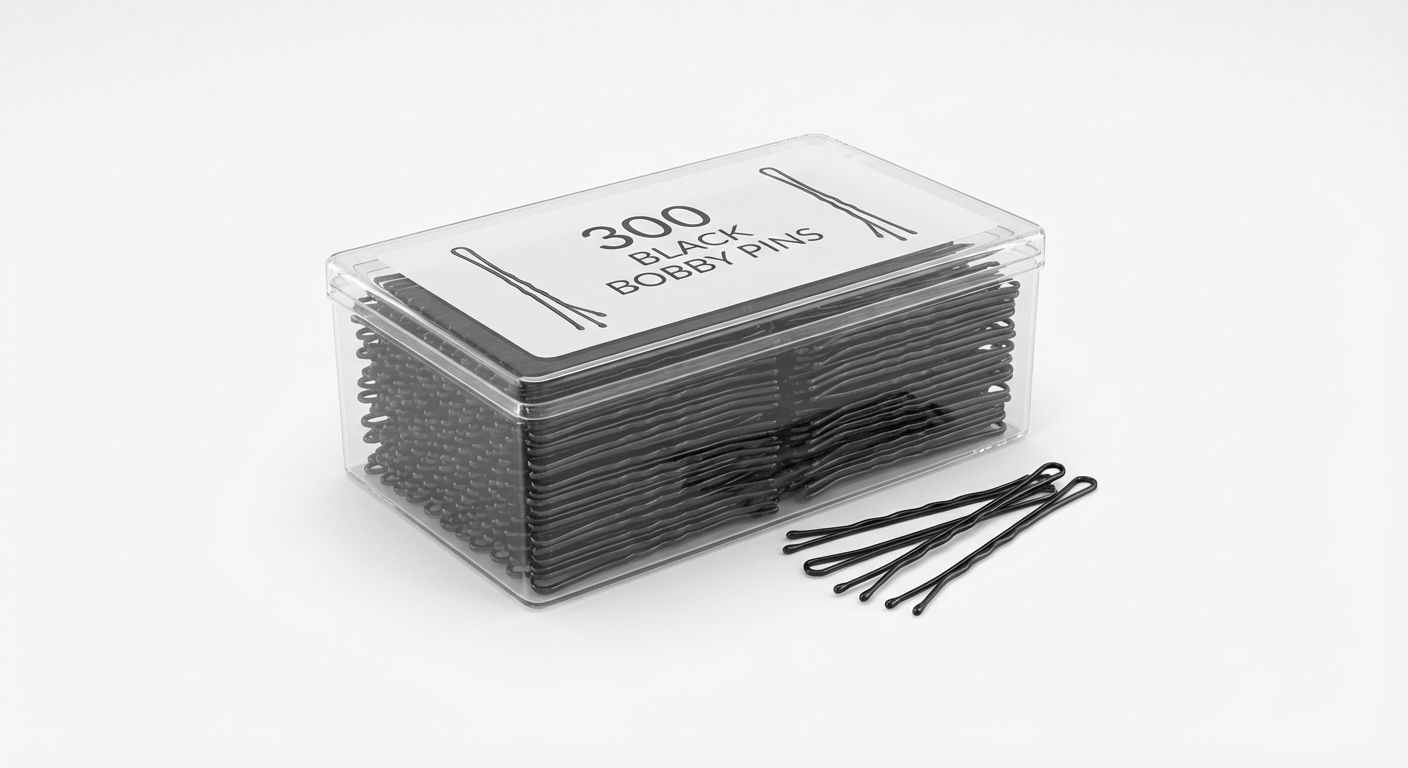
Diane Bobby Pins 1.75" (300 Pack)
“Perfect quantity for practicing all these techniques....” — Verified Buyer
Learning 15 techniques requires lots of practice pins. This value pack gives you plenty to work with as you master each skill.
“Perfect quantity for practicing all these techniques.”
— Verified Buyer
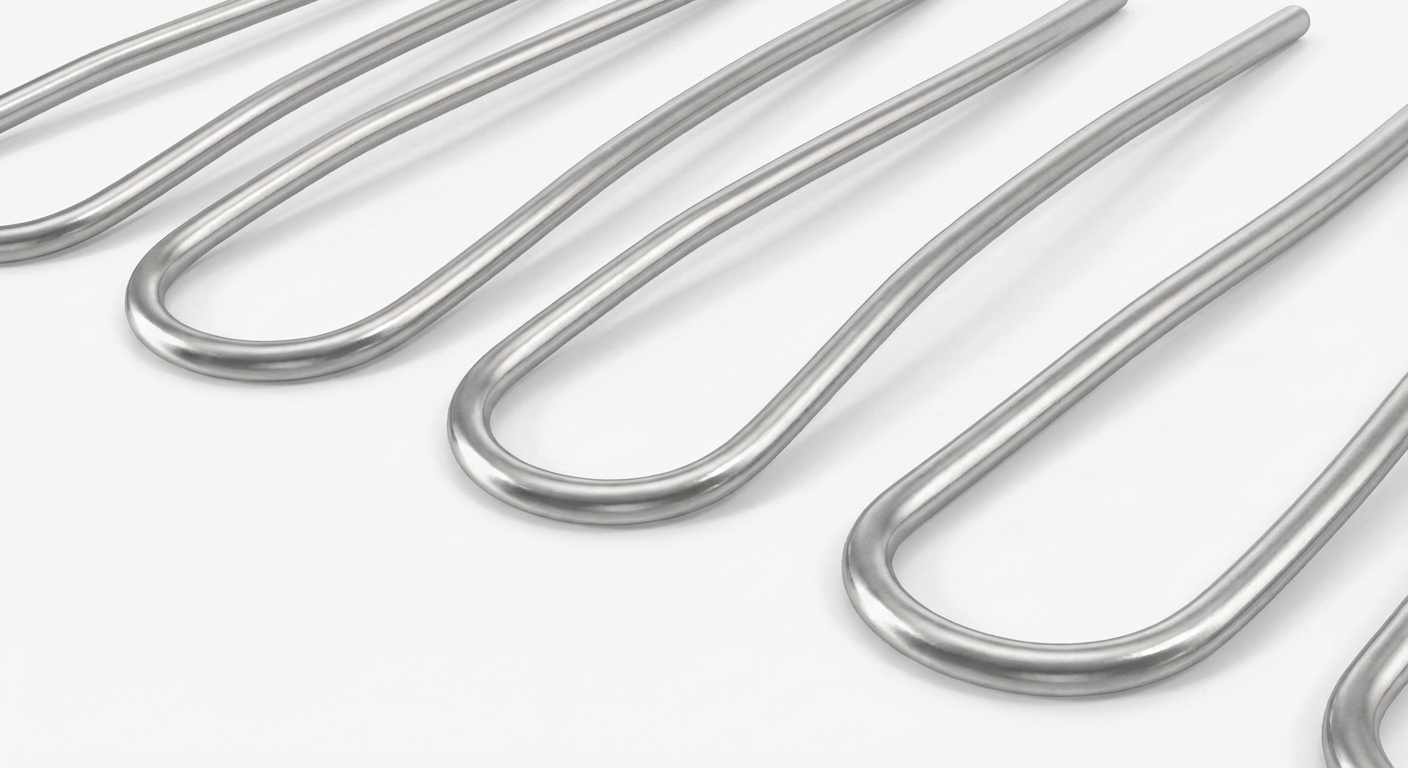
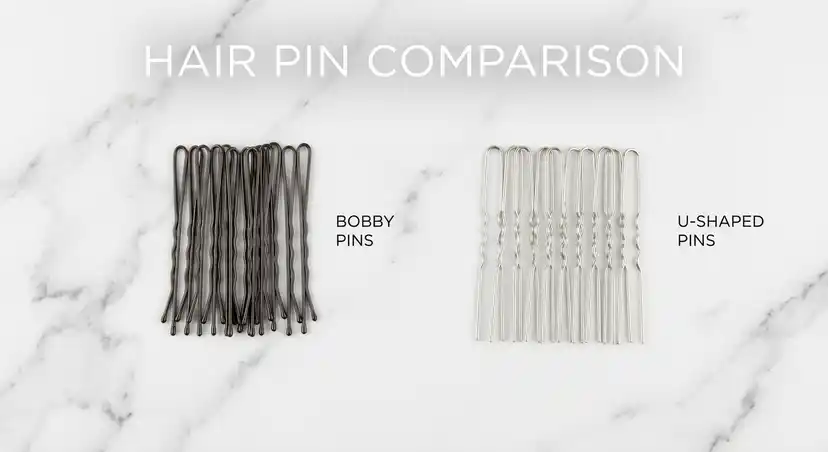
Conair Curved Bobby Pins/U-Pins (100 Pack)
“Needed these for the bun techniques. Different tool, differe...” — Verified Buyer
Some techniques require U-pins instead of bobby pins. Essential for the bun-anchoring techniques covered in this guide.
“Needed these for the bun techniques. Different tool, different purpose.”
— Verified Buyer
Great for practicing techniques. Consistent grip helps me learn.
Quick Comparison
A side-by-side look at our top picks
Frequently Asked Questions
Technique Over Tools
The X-Cross Foundation
Invisible by Design

Donna Miller
Enjoyed This Guide?
Get more hair tips and product recommendations delivered weekly.